Seeing as though we’re still knee-deep in summer, I figured it would be fun to show you what I consider three essential tarp shelters to know (or at least have an idea of) how to make. Now, I’m no boy scout and I certainly don’t spend weeks in the woods like some people I know but I do occasionally find need to make such shelters and considering that I’m choosing to rely on the idea as our primary bug out bag shelter (as opposed to an actual tent) then it behooves me to know what I’m doing. 🙂
Start with a good quality heavy-duty tarp (or a rain fly tarp); I like the 10×12 size but your needs may vary. Of course, a tarp isn’t the only supply you’ll need to make these shelters. About the only other supply you WILL need is plenty of cordage, usually 550 mil spec paracord–I would say about a hundred feet–and depending on you situation you might want either a color such as forest green to stay more hidden or bright yellow so you don’t trip over it.
You could also include some good tent stakes (not the flimsy stuff you can buy at Wally world) but usually there are plenty of things around that you can tie to or tie down with so they’re not an absolute necessity… but they do make things easier. And, of course, it’s wise to know how to tie a few basic knots so maybe a good knot book is in order too.
In no particular order of importance, here’s my three to know:
1. The A-Frame Shelter
This shelter is typically meant for one person or for snuggling if you’re so inclined. 🙂 Obviously, this shelter can keep the rain off but is also meant to shelter you from winds on one side while allowing heat from a fire on the other. This particular design provides a bit of protection from the ground as well:
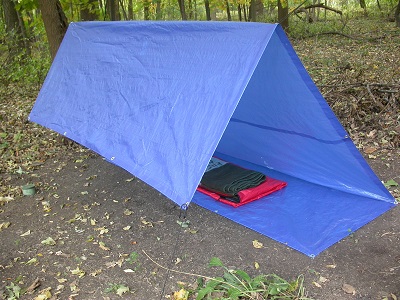
And here’s a variation of the a-frame… for those times where you just cannot stand the wind (never tried it but it looks cool!). Note that it relies on a inner pole (you could use a sturdy branch, I guess) to keep the shelter up rather than a central line:
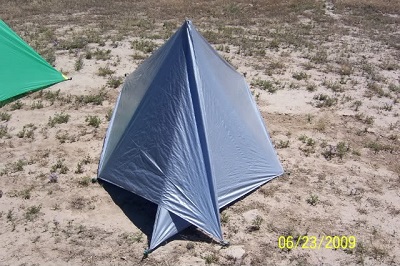
2. The Lean-To
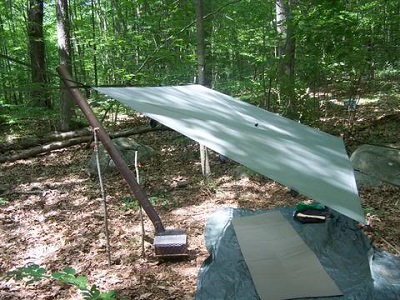
Normally, this is done with branches and “leans” up against a tree or something solid but can also be done relatively easily and fast with a tarp as well. Obviously this is more about just keeping the rain off your head and allowing a healthy campfire rather than dealing with wind, but here’s how to do it with a tarp and some cordage:
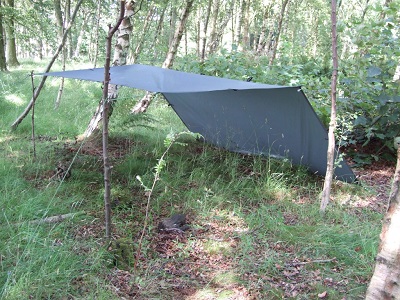
And here’s a slight variation of the lean-to if you want a bit more room to stand up underneath:
3. The Canopy
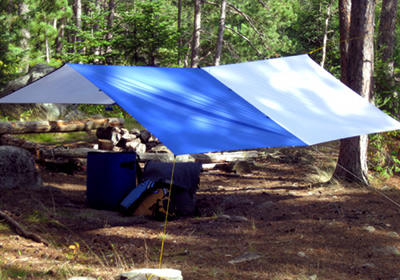
If you need to maximize the space underneath and only need cover from the rain then consider a makeshift canopy such as this. Of all the designs this one is going to take the most cordage to support the shelter. I have seen designs, however, that utilize a strong tree branch as the middle support:
A Few Final Thoughts
First, these photos make it look easy–don’t they always?–but these shelters are never really THAT easy to make. 😉 This is particularly true with a simple tarp because they don’t tend to stretch nearly as easily as the rain fly tarps (here’s an example) that are shown in most of the photos above. Personally, I’m thinking about switching over to a rain fly tarp setup rather than a simple heavy-duty tarp but have yet to do so mostly because of cost.
Second, water collection should be on your mind here as well. Both the lean-to and canopy designs lend themselves to being modified for rainwater collection quite easily… just tie down a section to make a very defined crease and water will quickly funnel that direction.
While I know there are plenty of other makeshift shelters you can make from tarps, these are the most useful and memorable to me. Just remember to pack plenty of cordage and know a few simple knots and you’ll be set.

Leave a Reply