Recently, I’ve been wanting to clean my own fireplace flue rather than having to pay somebody to do it. And, yes, I know there’s something to be said for having a qualified chimney sweep inspect it once a year, which I still plan to do, but for peace of mind until then I figured it couldn’t hurt to do it myself. As such, I started looking for DIY chimney sweeps.
The only problem, however, is that I REALLY don’t like climbing on my roof, especially since it has a rather steep pitch, but mostly because I’ve inherited my dad’s general fear of heights… you should see me trying to climb on my rooftop, it takes me at least ten minutes to do as I slowly shimmy my way way up there, lol. And getting down is even worse!
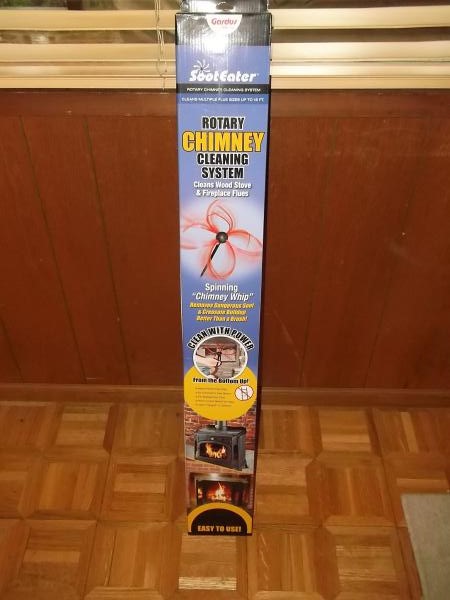
Anyway, rather than getting a traditional chimney sweep with a metal brush, the kind where I’d have to be on top of my roof, I found this Gardus Sooteater Rotary Chimney Cleaning System which allows me to keep my feet safely on the ground and to clean my flue from the bottom up:
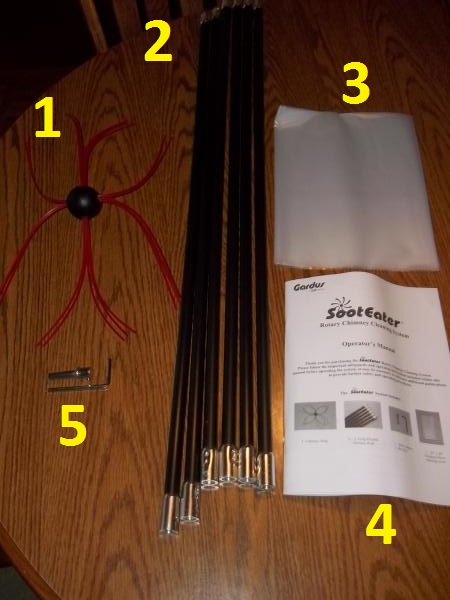
The contents include the following (as shown in the photo below):
- Chimney sweep head
- 6 three-foot flexible rods
- Plastic sheet (to cover the fireplace opening)
- Manual
- Drill bit adapter and wrench
I should note that I was a little concerned about the “flexible” rods because they didn’t seem that flexible to me at first glance, but I was wrong… they’re fairly flexible and I had no trouble with them. Time to get to work.
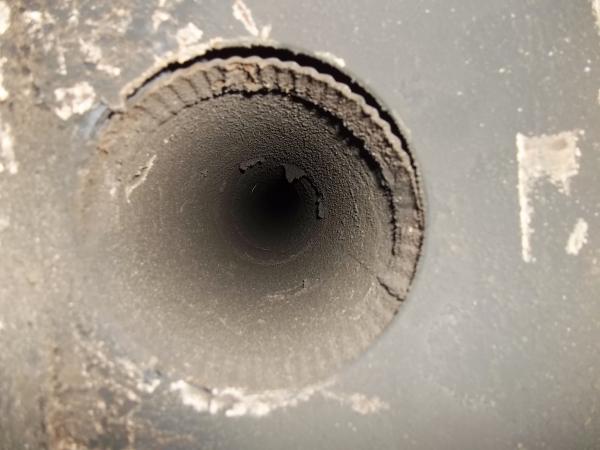
Now, here’s what the inside of the flue looked like before attempting my chimney sweep (after about a cord of wood). Clearly, there is some buildup, but it doesn’t look horrible compared to some photos I found online. Truth be told, I don’t really know what “normal” is so my opinion here doesn’t count for much:
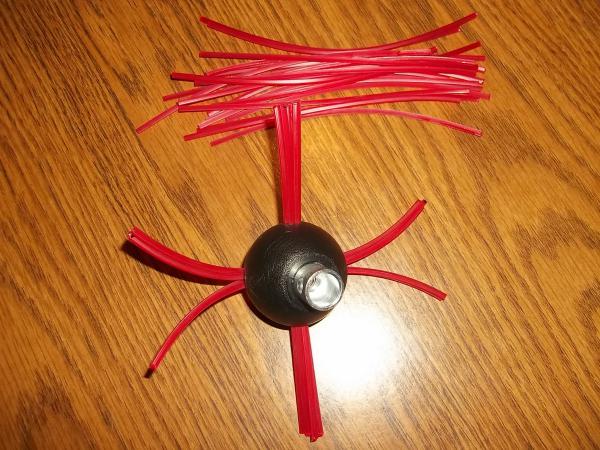
The first thing I had to do was to trim the rotary head to be slightly larger than my flue diameter. I measured my flue diameter to be 5.5″ and, so, I trimmed the head to be about 6″ in diameter according to the directions:
I was a bit concerned about trimming the head to be THAT short because I felt like it may not clean the flue well enough if, for example, the head slid along one side of the flue pipe as I worked up the flue. I read online, however, that as it speeds up the head will tend to center itself and properly clean all of the flue. In addition, if I’d chosen to NOT trim the head to fit as directed that it may not clean well enough because it wouldn’t properly scrape the flue wall. Ultimately, I took the internet’s word for it and trimmed the head as directed.
Next, I cut out some of the plastic sheeting to fit my fireplace and taped it in place with some duct tape, though I left the bottom open so I could fit the chimney sweep inside, like so:
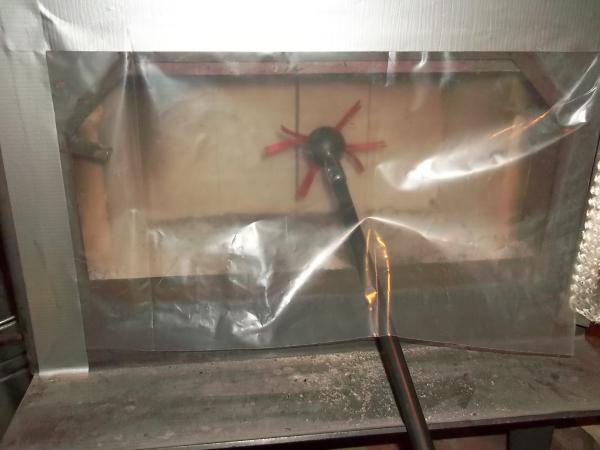
The directions, however, stated I should have poked a hole in the center of the plastic and taped the entire sheet in place; by now I figured I knew more than the manufacturer and, so, I ignored that recommendation… hopefully that wouldn’t come back to haunt me.
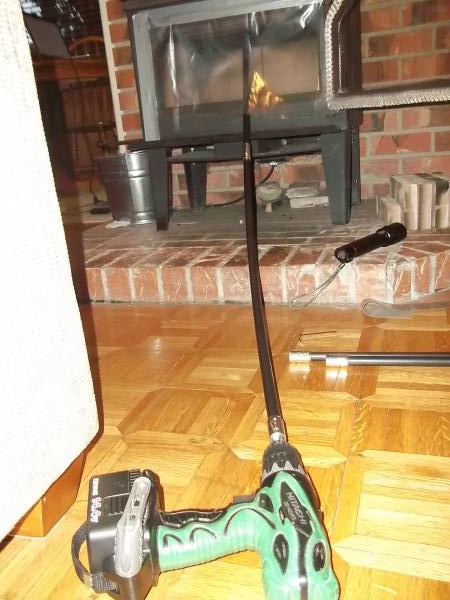
I quickly started to work my way up the flue and it was surprisingly easy to do. Here’s what it looked like after I’d added a few extensions:
I was done in only a few minutes, but I did slow down as I got near the top because I was worried about knocking off or otherwise ruining my chimney cap. Here’s what I got out of the flue pipe:
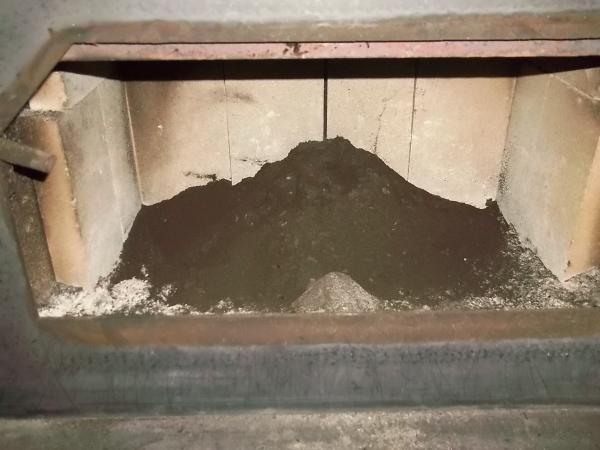
It was a good several scoops of what I’m assuming is first stage creosote because it was black, light, and fluffy. And, just out of curiosity, I wondered what my chimney flue looked like when I was done:
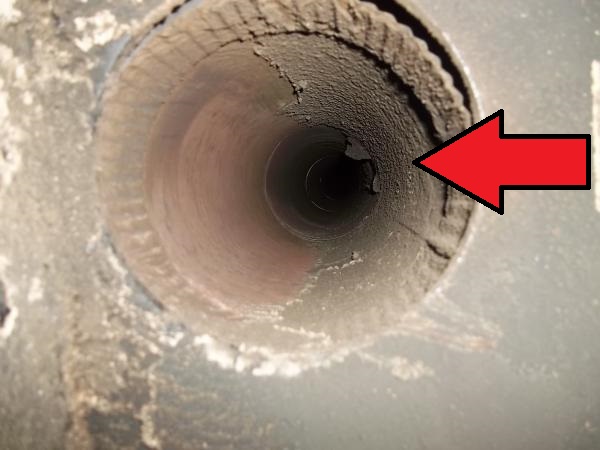
As you might be able to tell, half of the flue looked like it was cleaned well. The other half (where the red arrow points) didn’t look very cleaned, which is something I’d worried about when I cut the head strings so short. From what I could tell, however, it did seem to clean all of the flue pipe further up, at least, from what I could see. It was really just the bottom few feet where it didn’t clean because the head never centered itself. Oh, well, I think that next time I’ll try to replace the head strings and cut them a bit longer or really focus on the bottom section.
Ultimately, I’d say my DIY chimney sweep was a success. I was able to use my old 14.4 volt cordless drill (even though I was worried about not having enough torque) and I didn’t make a mess either by not fully sealing the door opening with plastic and tape… which also means I get to stay married for a little while longer. 🙂
One thing I do like about this system is that apparently I can replace the head strings on my own with weed-eater string (it just needs to be the right diameter) which means I can do this on my own again in the future, and very inexpensively.
I also think that next time I might try to work my way from the top down (but still keep my feet on the ground) as I saw this guy do here:
Overall, I’m fairly pleased with the Gardus Sooteater. It allowed me to clean out my chimney flue without having to climb on my rooftop (which I would have dreaded), was easy to do, can be reused, and didn’t cost much.
That said, I’m still probably going to have a qualified chimney sweep come out before next season starts and check it out just to be sure.
Leave a Reply