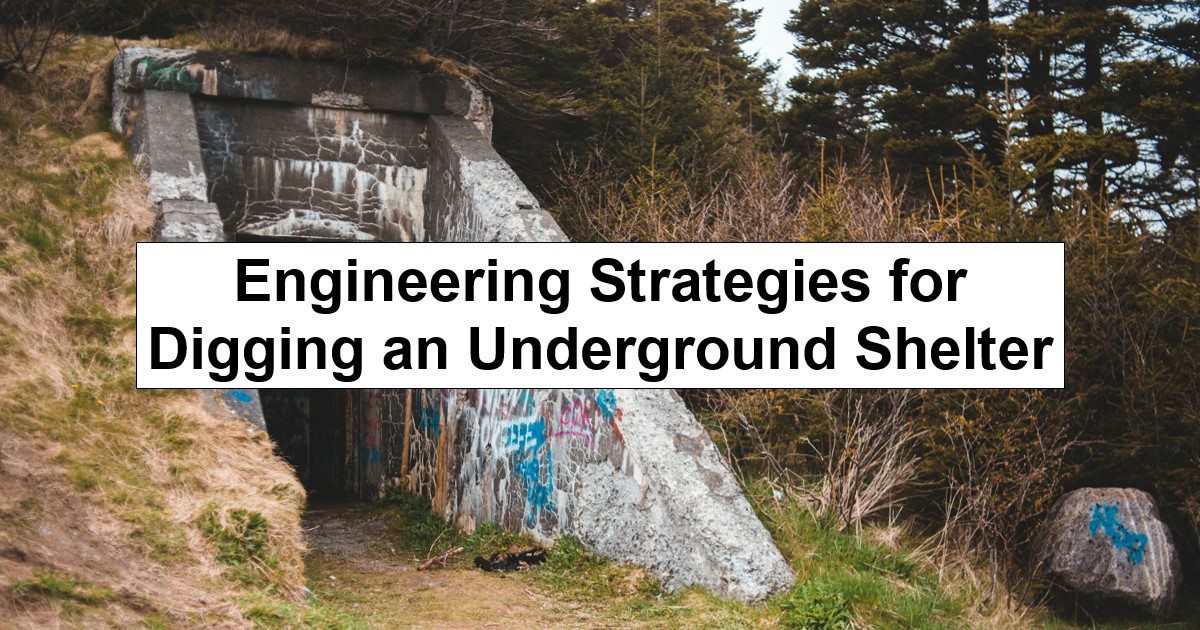
Building an underground shelter is about more than just digging a hole and covering it up. It’s a full-scale engineering project that needs to hold under pressure, stay dry and remain safe to use over time.
For preppers living off-grid, that reliability matters. The outcome depends on how well you read the land, plan the excavation and manage the build from start to finish.
With the right approach, you can turn the landscape itself into a secure, long-term asset built for when staying put makes sense. When approaching your bunker initiative, the following strategies can help you succeed.
1. Select a Site and Use the Lay of the Land
Construction matters, but the land determines success. Choosing the right site reduces risk.
Reading the Land and Water
You should first consider the terrain’s elevation. Low-lying areas collect water, and that’s a problem you don’t want when you’re living underground. A slight slope gives you natural drainage and reduces the risk of long-term moisture buildup.
Look for signs of a high water table. Consistently damp soil, thick grass growth or water-loving plants are all red flags. Spend time observing how water moves across your land after heavy rain or snow melt. If water pools or flows toward your intended site, choose another location.
Using Natural Terrain for Concealment and Efficiency
A hillside changes everything. Cutting into the slope, often called a cut-and-cover approach, reduces excavation requirements and provides built-in structural support on one side. Working with nature is a classic military and civilian defense strategy for building hardened shelters. It also makes concealment easier once the project is complete.
Shallow ravines or dips can help reduce the ultimate excavation volume. Depressions help the structure sit lower without requiring as much dirt removal, which simplifies digging and cleanup. Caves are also popular options for natural bunker systems, though working with a geologist or engineer is essential to ensure it’s structurally sound enough to protect you.
Subterranean living is not just for emergencies. In some parts of the world, like Australia’s Coober Pedy, where temperatures hit 126° Fahrenheit, 60% of the community lives underground in caverns or dugouts.
The advantages of using existing hills or mountainous terrain include:
- Natural protection: The mass of the existing hill provides superior protection from the elements and external threats than simply piling a few feet of dirt on a flat roof.
- Concealment: A door in the side of a hill is far less obvious than a hatch on flat ground surrounded by a mound of earth. Camouflage is critical for operational security.
- Efficiency: You are moving less dirt and allowing the landscape to do most of the work of covering and protecting your shelter.
- Drainage: A bunker that floods is not a shelter — it’s a subterranean swimming pool and a death trap. Unlike a house with a damp basement, a sealed shelter has no easy way to pump out water in a grid-down situation. Therefore, using the high ground is the top survival strategy for ensuring the shelter’s long-term viability.
Stabilizing Soil According to Type
Soil type controls how easy the process is and how stable the result will be. Loose, sandy particles shift easily and increase collapse risk. Military bunker sites are often built on clay substrate because this type of soil offers better shape holding and improved deformation characteristics. However, clay can also trap water, making drainage essential.
Alternatively, rocky ground may be slow to excavate but often provides better long-term stability. Before committing, use digital tools like the USDA’s Soil Survey to understand what your location may offer. Understanding what you’re working with is easier than fighting the ground when you’ve already begun excavation. If you are building a large-scale system, it may be worth hiring a drilling rig to collect samples to the depth of your excavation site for accurate analysis.
2. Start Strategic Excavation and Digging With a Plan
Earthmoving is where most projects either stay on track or fall apart. A clear strategy saves time, effort and risk.
Choosing the Right Machine for the Job
Most off-grid builds benefit from a mini-excavator for practical reasons. It’s compact, easier to transport and better suited to uneven terrain, such as slopes or wooded areas. Backhoes still have their place, especially for larger, flatter sites. However, they need more space and don’t maneuver as easily in tight or sloped conditions.
Consider your timeline when choosing a machine to rent, as a mini-excavator averages 2 to 5 cubic yards per hour, if the terrain is not too compacted or rocky. Hiring a larger machine with a wider reach or a bigger bucket can save time and ultimately cost less over the project timeline.
Managing the Soil “Waste”
Digging a shelter creates more material than you may realize. For example, a 10-by-20-foot excavation can produce dozens of cubic yards of soil and rock, which can’t remain heaped on-site. Runoff during storms can cause mudslides and rutting, so processing the waste is essential. A massive, fresh pile of subsoil is a giant advertisement that says, “Someone just did major earthmoving here!” For a prepper, that’s a huge security risk.
Separate topsoil from heavier subsoil as you dig. Add the top layer back onto the bunker roof to restore natural plant growth and improve camouflage. The denser material works better for backfilling and forming protective berms to manage water runoff and create a defensive barrier.
Keeping Your Equipment Running
In an off-grid project, downtime can stall everything. Equipment failure is inconvenient and can stop progress entirely.
Routine maintenance keeps things moving. Machines equipped with rubber tracks require proper tension, especially when operating on challenging terrain. When these are too tight, it increases wear and overworks engines, leading to higher fuel use. Loose tracks could even slip off entirely. Daily cleaning helps prevent debris, such as rocks and mud, from causing damage over time.
Operator habits are just as important. Avoid sharp turns, uneven strain and unnecessary spinning, especially on rough terrain. These small adjustments extend the life of your equipment and keep things on schedule.
3. Take Logical Bunker Building Steps
Once the plan and excavation are in place, the structure comes together in stages. Keeping these logical ensures you have minimal reworking and can enjoy a safe and secure shelter. Each step builds on the last, so consistency matters.
Benching and Shoring for Safety
Straight vertical walls may look clean, but they’re risky during excavation. Benching, or cutting the walls into stepped layers, reduces the chances of collapse while you work. It distributes pressure and gives you safer access as the hole deepens. In unstable terrain, temporary supports or shoring may be needed. Safety during this phase is vital to avoid accidents and ensure progress.
While it’s a general safety rule, its importance is magnified for a prepper. On a commercial site, help is a phone call away. If you’re working alone or with a small group off-grid, a trench collapse is not an insurance claim, but a potentially fatal and unrecoverable disaster. For the self-reliant individual, this safety protocol is a survival strategy.
Creating the Box With Foundation and Walls
A solid base sets everything up. Pour a reinforced concrete slab for the foundation. Research into earthen architecture indicates that buildings with 8% fiber additives and 8% cement enable optimal hygrothermal performance, ensuring a stable indoor climate.
Using concrete blocks for the walls with reinforcing ensures the materials handle pressure well and provide long-term durability. Precast panels can speed things up, but require careful placement and support.
Waterproofing and Backfilling
Water is a long-term threat to subterranean structures like bunkers. You can apply an appropriate waterproof membrane to the exterior walls before backfilling. This barrier keeps moisture out and protects the structure over time. Skipping or rushing this step almost always leads to problems later.
Backfill using the subsoil you set aside earlier. Pack it in compressed layers to reduce shifting and improve stability.
Installing Life Support Systems
A closed shelter without windows can quickly create a dank indoor environment that may become unpleasant to live in. Install essential systems, such as ventilation, before sealing everything in.
You need both intake and exhaust to maintain air quality and prevent the buildup of harmful carbon dioxide and other gases. Plan these systems early, so they integrate cleanly into the structure. You can add conduits for power or communication lines if needed. Even in an off-grid setup, planning for future flexibility pays off.
Roofing and Final Covering
The roof carries a significant load, so build it to match the walls’ strength with ample support. Once the structure is sealed, cover it with soil. Use the reserved loam last to restore the area’s natural look. Layers of dirt and creeping plants help with insulation and concealment.
Outfitting and Interior Layout
Focus on function and efficiency inside the bunker. Use simple layouts with clear paths in and out of your hideaway. Storage, sleeping areas and basic utilities should fit the space without overcomplicating it. Check out minimalist off-grid setups for inspiration.
4. Overcome Legal Hurdles With Permits and Regulations
Even remote land comes with rules. Ignoring them can create bigger problems than the build itself. Strategic questions guide a lawful construction.
Why Can’t You Just Start Digging a Shelter?
Local building codes often apply, even in rural areas. Permits exist to prevent unsafe construction and to avoid issues such as hitting underground utilities, mine shafts or water pockets. An underground shelter may fall into categories such as storage structures or storm shelters, depending on its classification.
How Do You Research Local Bunker Requirements?
Start with your local planning office or county clerk. Ask how underground structures are regulated in your area. Requirements vary widely, and some regions are strict, while others are more flexible. Knowing where you stand from the start keeps the project moving without interruptions.
5. Consider the Risks of a Poorly Built Shelter
When it comes to underground living, mistakes are often fatal, and even small errors compound over time.
Some of the risks include:
- Structural destabilization: Soil pressure builds constantly. Weak walls or poor design can fail under that load. Earth tremors can also cause serious flaws in the design, often leading to roof collapses.
- Water intrusion: Even small leaks turn into long-term issues like mold, rot and contamination. While the bunker may remain intact, it could become uninhabitable or a health risk to occupants.
- Atmospheric changes: Poor ventilation leads to low oxygen levels or gas buildup, making the space unsafe. A poorly sealed structure can become a collection point for radon gas, which filters in from the surrounding earth. Radon is radioactive, odorless and colorless, and it’s been linked to lung cancer and other health issues.
Each of these risks ties back to planning and execution from before you even break ground. Cutting corners up front usually shows up later.
FAQs About Bunker Construction
Learn more about digging your own underground shelter.
Q: How deep should a bunker be?
A: The depth depends on your goal and soil conditions. For basic protection and concealment, a few feet of earth cover is common. More depth adds protection but increases complexity and cost.
Q: What is the best material for a bunker?
A: Reinforced concrete remains the most reliable option. It handles pressure well and lasts over time. Other materials can work, but they need careful design to match performance.
Q: Can you build a bunker yourself?
A: It’s possible, but it’s a serious undertaking. You’ll need skills in excavation, construction and planning. If you are a dedicated prepper willing to learn and prepare, you can do it, but it’s not a casual weekend project.
Building Something That Lasts
An underground shelter only works if it holds up when you need it. That comes down to preparation, not shortcuts. Reading the land, planning the dig and executing each step with care turns a complex endeavor into something reliable. Done right, it becomes a long-term solution to support you and your family when conditions change.
Leave a Reply