No doubt there are quite a few designs for mini soda can alcohol stoves… it’s like people have a fascination with them or something. I guess I do too. 😉
Most soda can builds, it seems to me, require two soda cans and a bit more cutting than I’d prefer. This design, however, is quick and easy. Know that I tried this a few times and the following is my best practices for getting it right fast and easy like.
In fact, if I’d timed myself I’ll bet I could make this in five minutes or less. Now, follow along in the steps below and click on the images here for a bigger view:
Safety Warnings
- Since you’re cutting metal be sure to watch what you’re doing as you can easily cut yourself both with the knife and especially the metal once it’s cut. It’s best to wear gloves when making cuts.
- You’ll be starting an open flame using a substance (isopropyl alcohol) that is difficult to put out. Blowing on the flame won’t work. You MUST smother the flames!
Supplies and Tools
Fortunately, this is a really easy build. Here’s what you need:
- 1 soda can
- a permanent marker
- a knife
- scissors (optional)
- Isopropyl alcohol (70% will do but I used 91%)
- something to smother the flame with (I used a #10 can)
The Build Process
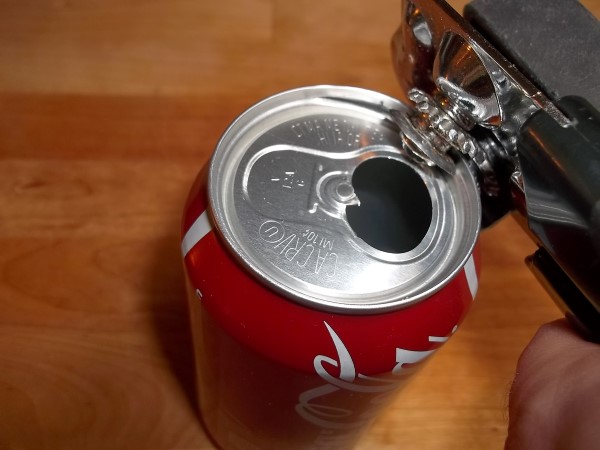
- Cut the top off the soda can. You could possibly use a knife but I was having difficulty doing so. I wound up using a manual can opener and that worked so much better! In fact, don’t even bother using a knife.
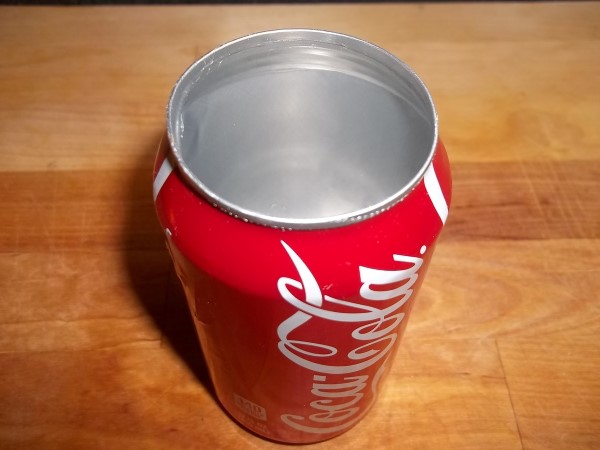
- Ensure the top edge of the can is as smooth as it can be to ensure you don’t accidentally cut yourself later in the build or while using. You can use items like a pair of pliers or a file to fix any issues. If you used a can opener there shouldn’t be any problems here.
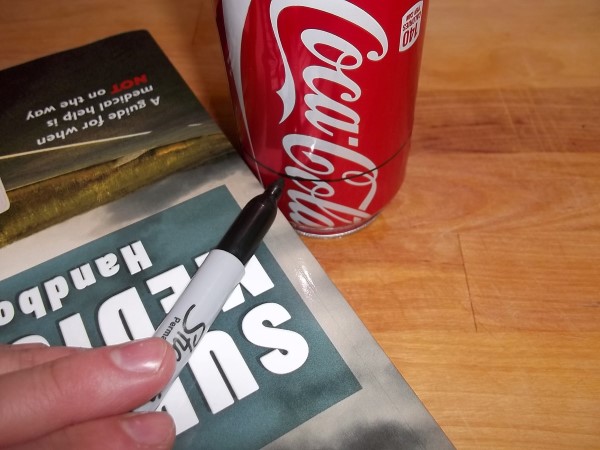
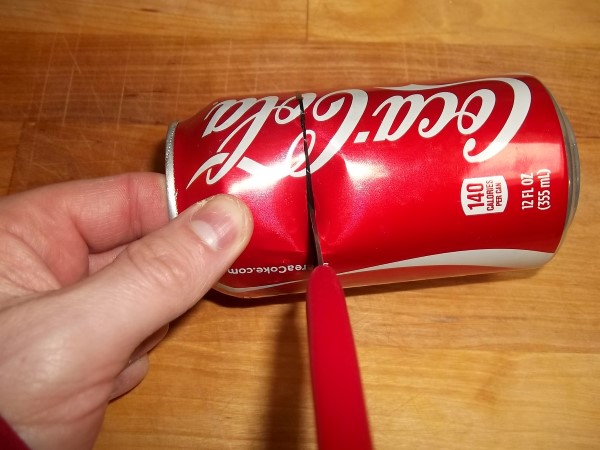
- Turn the soda can upside down so the top you cut off is now facing down. Take your favorite thick book (I choose The Survival Medicine Handbook but you can use any you prefer) and mark a straight line using a permanent marker. Just hold the pen in place atop the book and slowly turn the can around.
- Cut along the marked line. I used a paring knife which worked much better than scissors did.
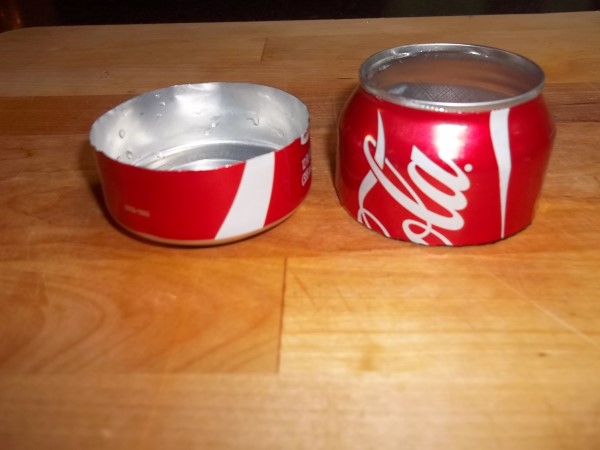
- Repeat step four and cut off the bottom half of the can but ensure the bottom is about 3/8″ shorter (maybe up to 1/2″ shorter would work) than the top so that everything fits together properly later; if it’s the same size, for example, you’ll wind up with the bottom half extending past the bend in the upper half and cause a sharp edge and just plain not look good. A simple measurement or two will get this right. Overall the entire stove is right at about 1 3/4″ tall but you can adjust the height to your preference. Honestly, a shorter stove might be just fine.
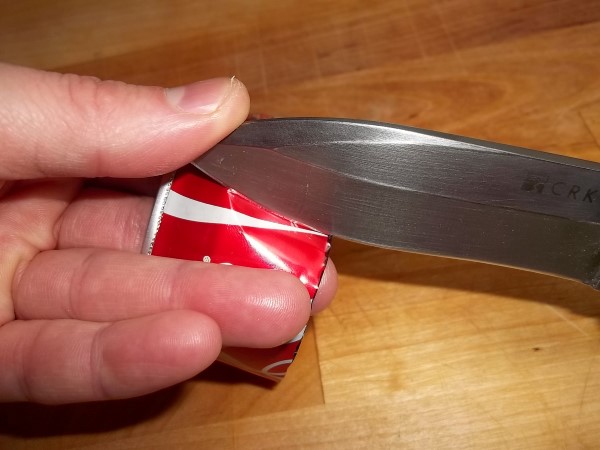
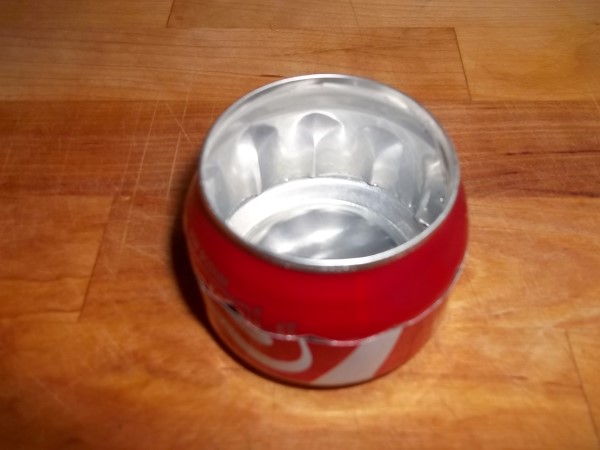
- Take a knife and indent vertical lines around the top half of the stove. I found the easiest way to do this and still keep the top in reasonable shape was to take two fingers inserted through the top of the can and then to use my knife to indent the can between my two fingers from the bend in the can to the edge I cut. Once you’ve made one indention simply move your fingers to butt up against the indention you just made, make another indention, then repeat until you’ve made it all the way around the can. Remember that you’ll be both touching freshly cut metal AND have a knife in close proximity to your fingers so be VERY careful in your movements here. Remember, safety first. Always. 🙂
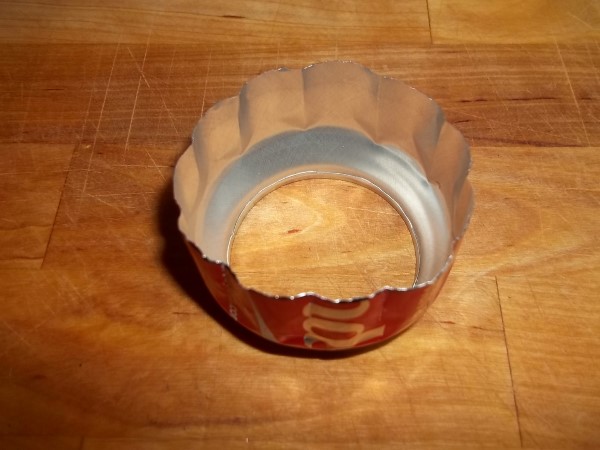
- Ultimately, you’re going to have something that looks a bit like this. The reason is so that you can more easily insert the top into the bottom without a whole lot of fuss. That said, it will take a bit of patience to do. If need be, rework the indentions to make them more “crisp” particularly near the cut edge.
- Insert the top into the bottom until it fits snugly. Now add a squirt or two of isopropyl alcohol and enjoy! Of course, be sure to do so in a safe manner outside and away from anything that may accidentally catch fire should the can get tipped over or whatever.
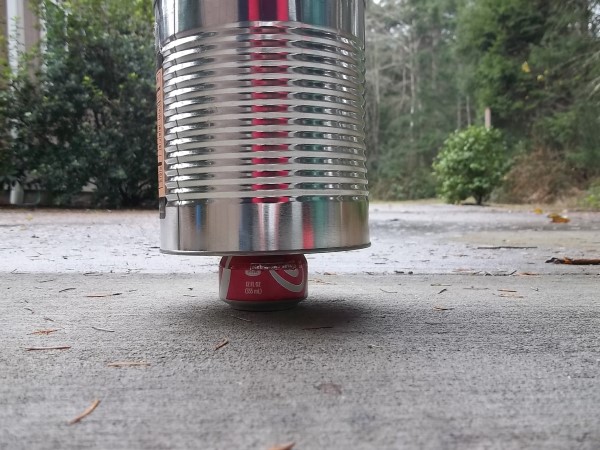
- You’ll need to use something to smother the flames since you won’t be able to blow out the fire. I used a #10 can but out in the field you may need to use something like a steel cup or pan. The trick is to apply some pressure to the top of the stove otherwise it will still get enough oxygen to keep going. I’d suggest practicing a few times in a controlled environment… or just be willing to let the flame die out.
Like I said, this is an easy build and a fun DIY project. Even better than many of the other builds is that if you didn’t use all of the isopropyl alcohol then you can readily take the stove apart and save what you didn’t use! What about you? What soda can stove builds have you tried? Is there one better than this? I doubt it!

Leave a Reply