As one might expect, I’m already behind on posting my weekly freeze-drying posts. That’s partly my fault (because I got started way too late this week) but I’ll attempt to blame the freeze dryer soon.
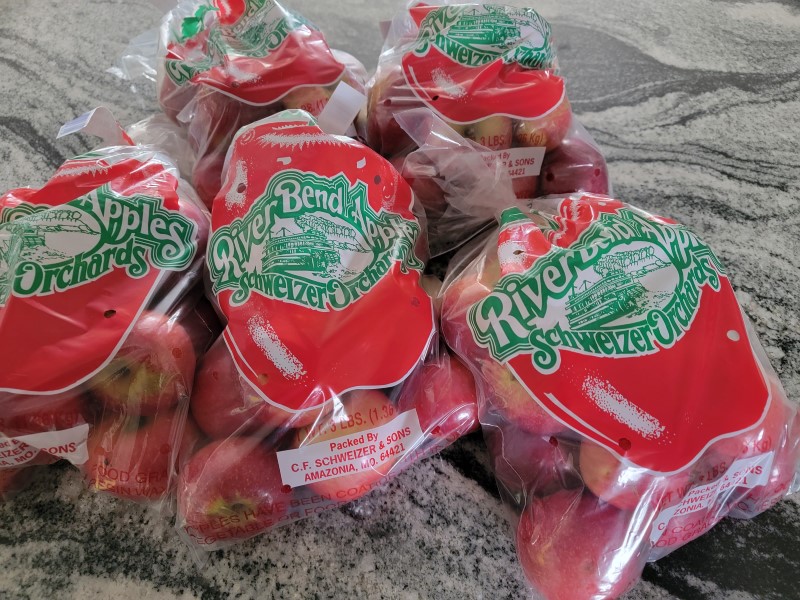
I decided to buy some apples at the store because our orchard is still too young, and our vegetable garden is a mess. Anyway, I came home with fifteen pounds, five bags, but only ended up using twelve pounds. It cost about $15:
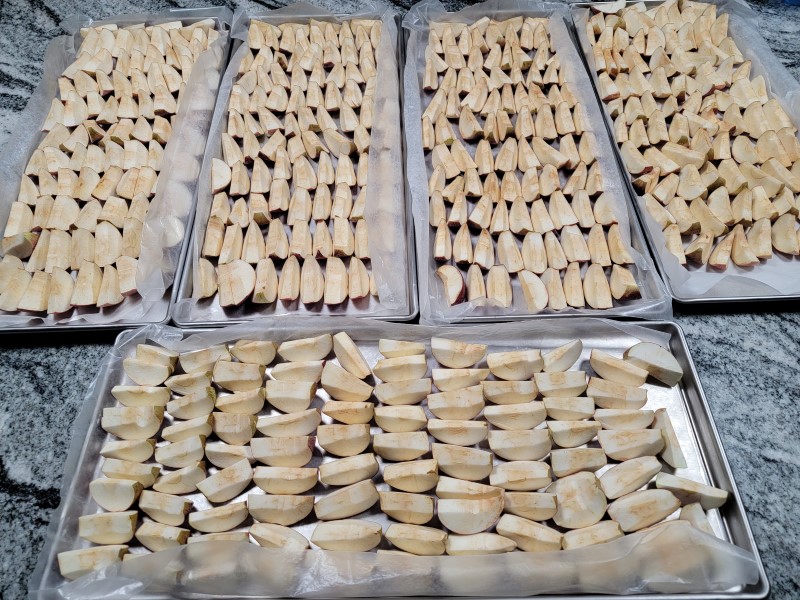
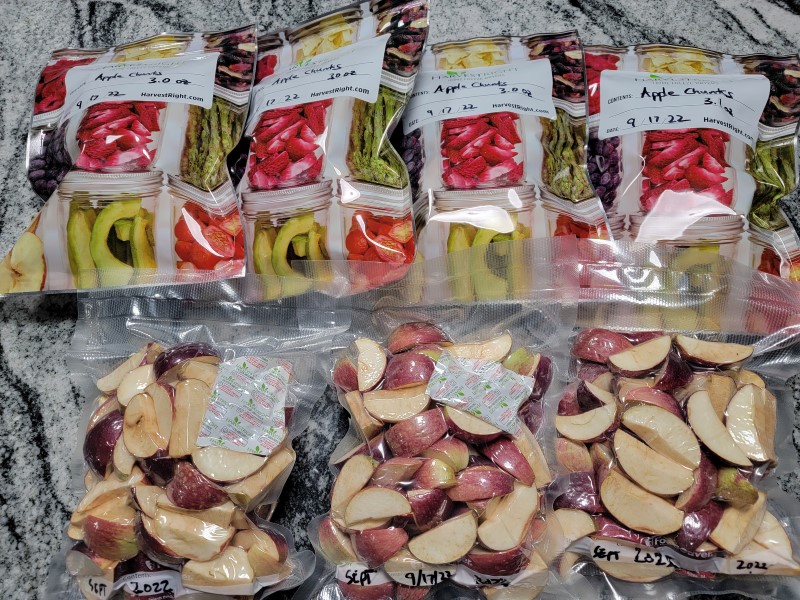
Originally, I was going to slice them thin like the manufacturers do, but I wanted to “make better use of the freeze dryer” and, so, I cut them in chunks:
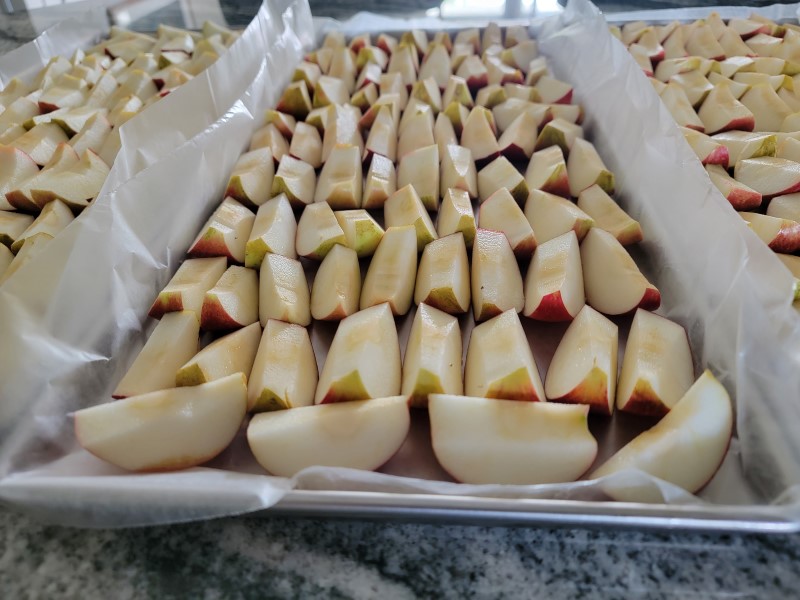
Cutting them took a lot longer than expected. Maybe an hour. (The apples I started with began to brown before I got done.) I also used parchment paper again, though that appears completely unnecessary because I put the apple skin-side down. Perhaps I’ll stop using parchment paper soon?
As I stated from the top, I’d like to blame the freeze dryer for taking way too long to finish, needing nearly forty hours:
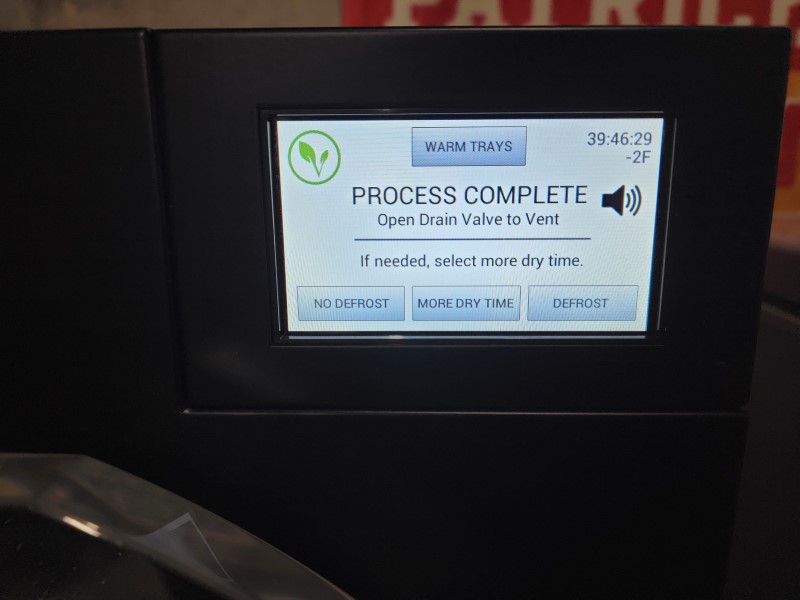
In the freeze dryer’s defense, it did finish sometime in the middle of the night, but I wasn’t going to stay up waiting for it, so I got to it this morning.
Here’s what they looked like when finished, which is pretty much the same as when the went in, lol:
Of course I tested a few, first by breaking them in half and then eating them. They tasted great! Just a hint of sweetness and dry as a bone. I also kept a dozen or so chunks out so I could eat them over the week.
Now, aside from using Mylar bags like I had been, I decided to try out my new vacuum sealer:
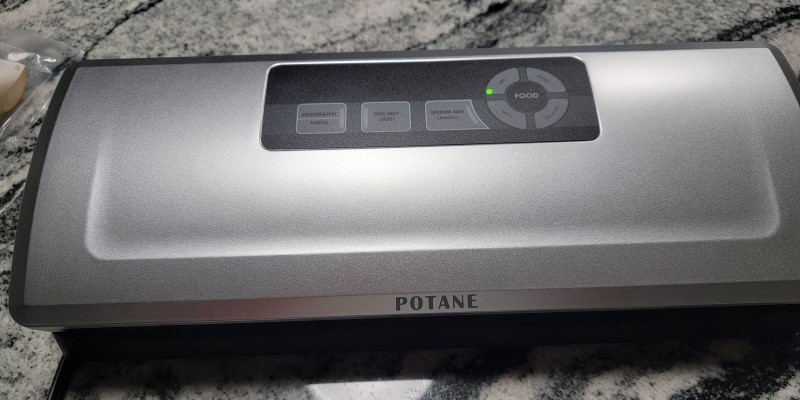
I had to buy a new one because the Foodsaver I used wasn’t cooperating. Anyway, the Potane vacuum sealer I bought worked well for this purpose. Time will tell how durable it is.
One thing I’ve always done with a vacuum sealer is to double-seal the opening because seals sometimes fail, especially those created by a vacuum sealer:
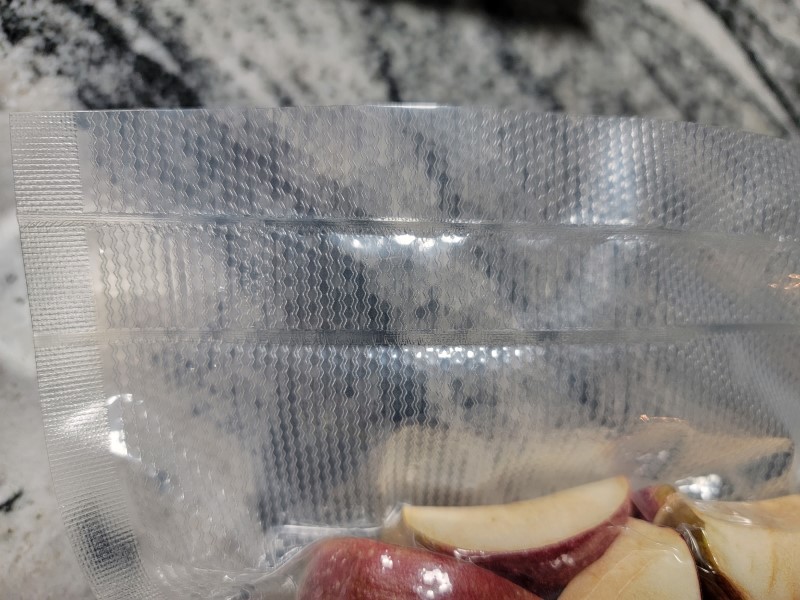
If you’ll notice in the photo above, the factory-seal (seen on the left) is much larger than the seals created when I used the sealing machine (shown on the top). If the bag bunches up when sealing–even a little bit–you can end up with micro holes that will allow air inside. But it more likely that a sharp edge will puncture the thin material and cause the same problem, which is why you need to be careful with vacuum bags/rolls.
It’s been so long using a vacuum sealer, that I forgot how difficult it can be write on the bags after they’ve been sealed:
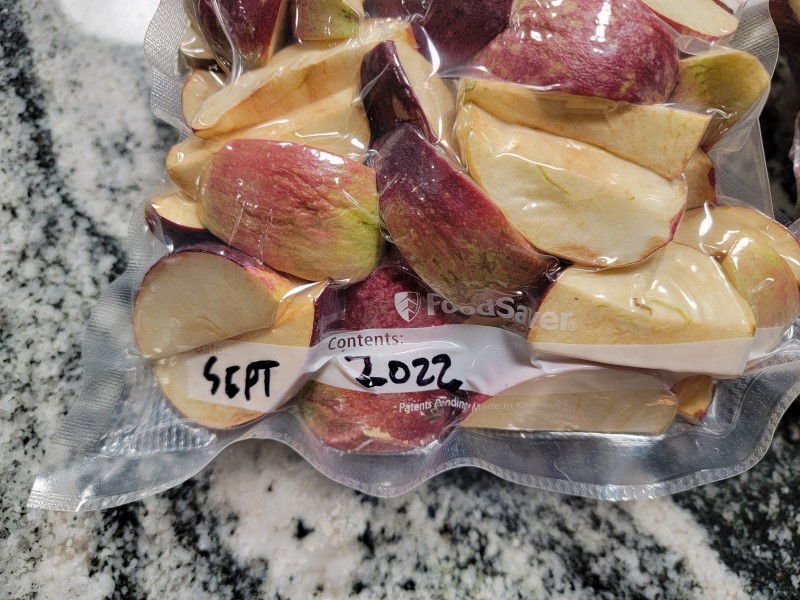
I’ll have to remember to write on the bags BEFORE stuffing them full of food.
If you’ll recall, when I freeze-dried bananas, I started with eleven pounds (including the peels) and ended up with about two pounds of freeze-dried product. Given that experience, I assumed I would get more finished product out of the apples, but I only ended up with 1.56 pounds.
Now I’m wondering if my bananas fully dried, but I’ve been eating the banana chunks I left out and they taste perfectly dry, so what do I know.
Regarding costs: I spent $15.96 on 12 pounds of apples. Total cost to run the freeze dryer for 24 hours is $3.31 (assumes 10 amps average power usage and $0.12 kWh electricity cost). Thus, total cost is $21.48 for 25 ounces.
For comparison, on Amazon, I can get 6.8 ounces of freeze-dried apple slices for $34.99 or 12 ounces of dehydrated apple slices for $19.99 right now. BePrepared.com sells freeze-dried cinnamon apple slices (sounds yummy) in a #10 can (10 oz) for $39.99. ThriveLife.com sells Fuji apple slices in a #10 can (8.46 oz) for $42.99.
I’d say I did pretty good. The freeze dryer is paying for itself already. Only about a hundred more batches to go. 🙂
Leave a Reply