It’s amazing how easy it is to be lazy, especially with preparedness tasks. I know we had the holiday season recently, but it’s been well over a month since I did any freeze-drying, and two months since I was doing it regularly. That’s not good! Considering how the world is going, I’d say it’s high time to get back into it somehow. And I figured eggs were the perfect choice since we had twelve dozen eggs just waiting to be used.
So, I grabbed half of those eggs, and got to scrambling (about 20% of which were duck eggs this time):
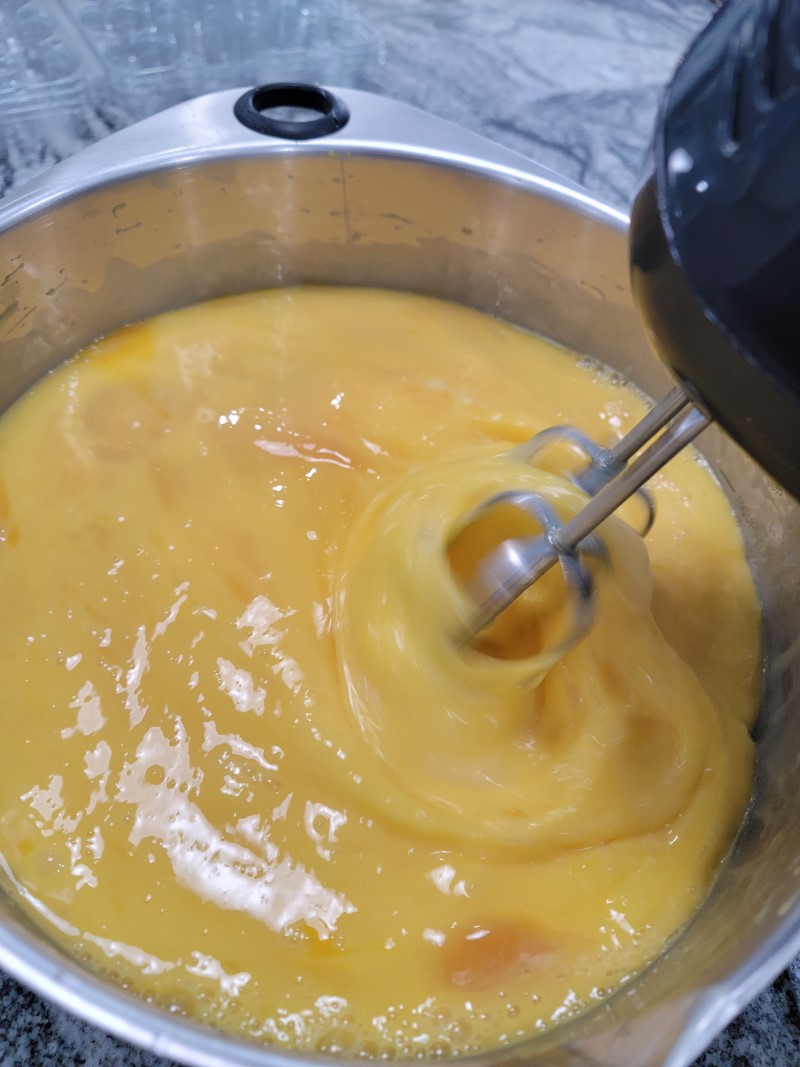
I thought I did a good job with scrambling, but there was a stubborn yolk or two that I had to break up with a fork:
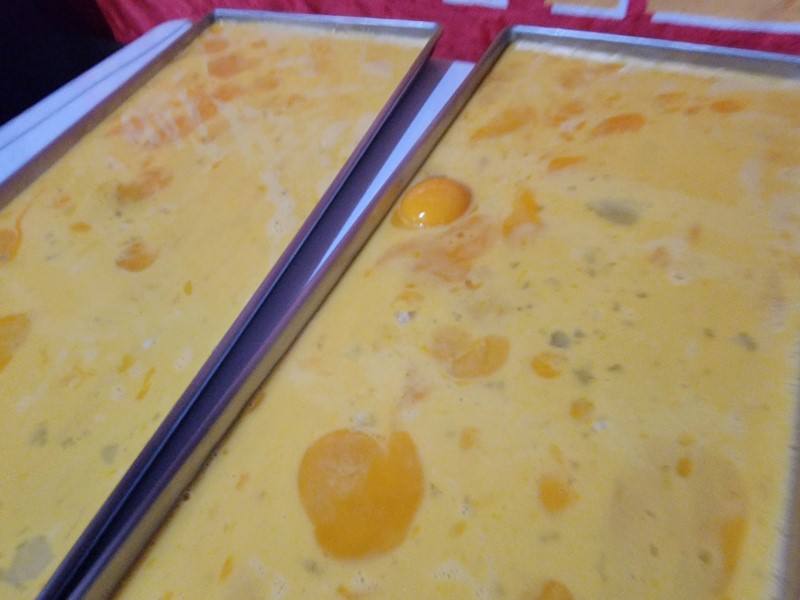
One thing I forgot to do was to pour the eggs into the trays while they were in the freeze-dryer. Instead, I poured them into the trays atop the chest freezer that’s next to the freeze-dryer and then moved them by hand, which was a spill waiting to happen. Thankfully, I didn’t make a mess, but I’ll need to remember this for the future.
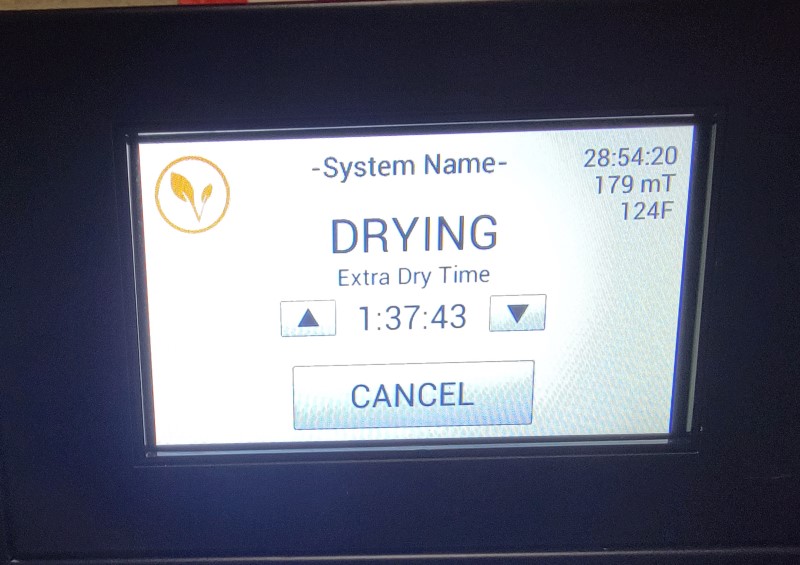
The freeze-dryer needed about 28.5 hours to finish; last time I think it was around 26 hours for six dozen eggs:
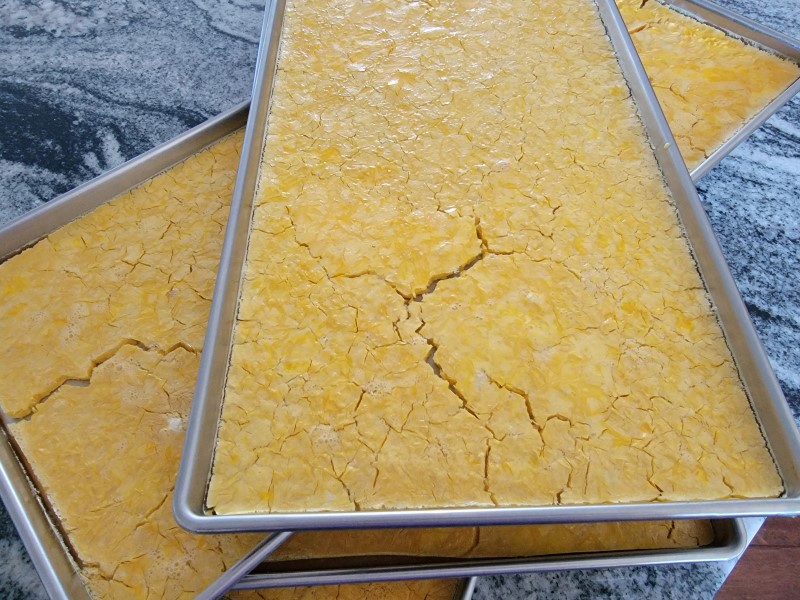
When finished freeze-drying, the eggs come out looking like they’d been baked by the sun in a sweltering desert heat:
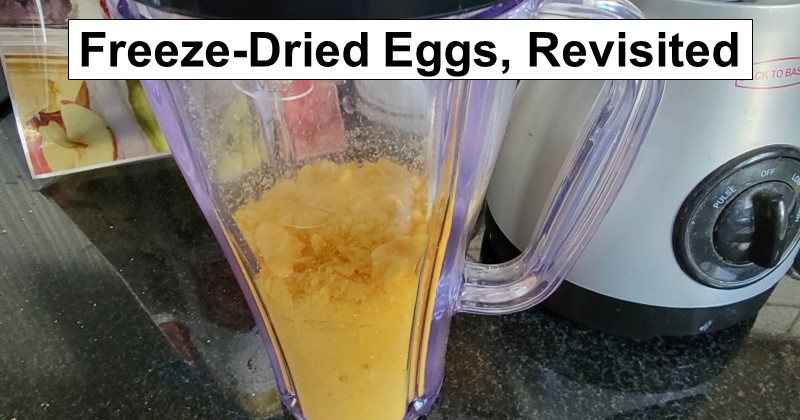
Last time, I simply broke up the eggs and packaged them in Mylar bags as chunks, large and small. This time, I found my mother-in-laws grinder so that I could turn them into powder:
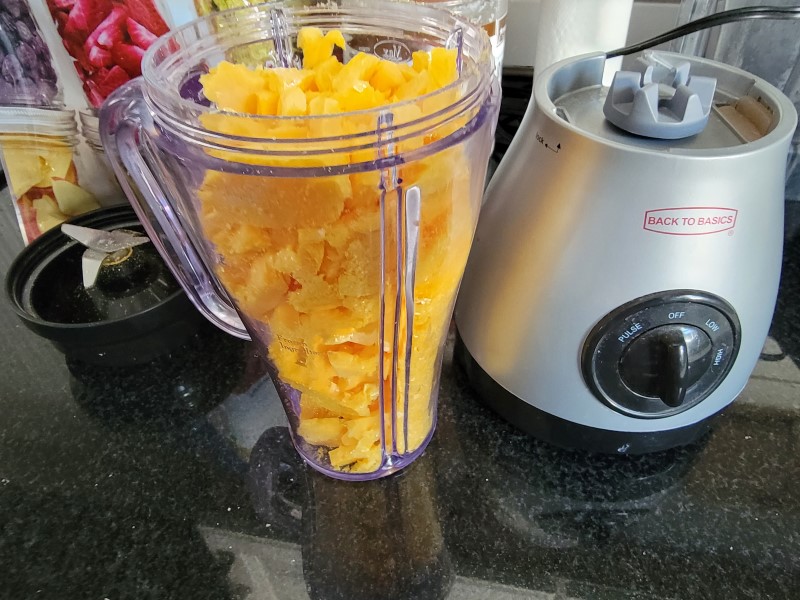
Here’s what the eggs look like when finished:
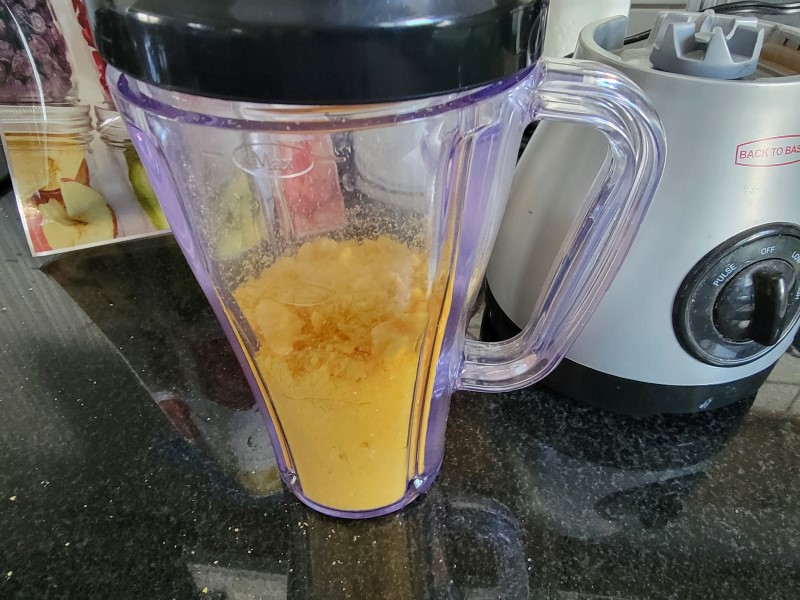
Turning them into powder wasn’t perfect, but after a few tries I figured it out.
I made a bit of a mess when I was all done:
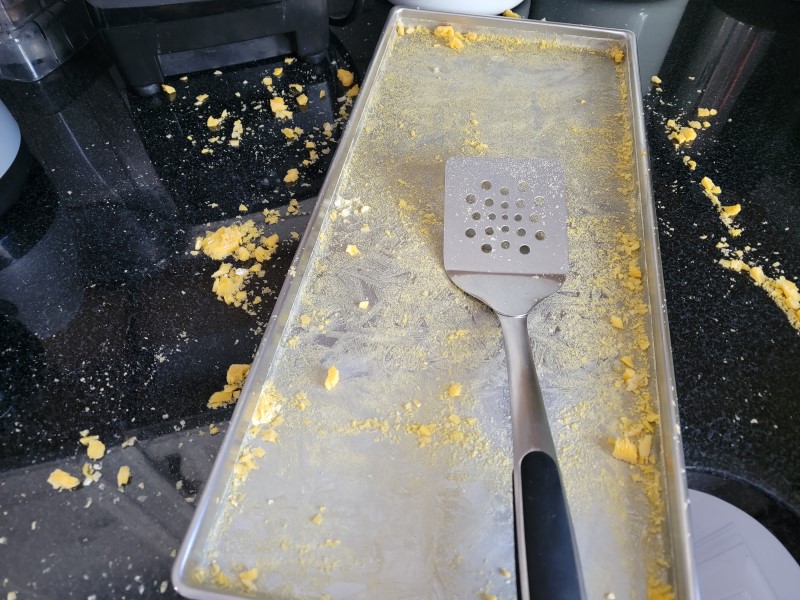
But ended up with right at two pounds of powdered freeze-dried eggs, all of which fit into three Mylar bags:
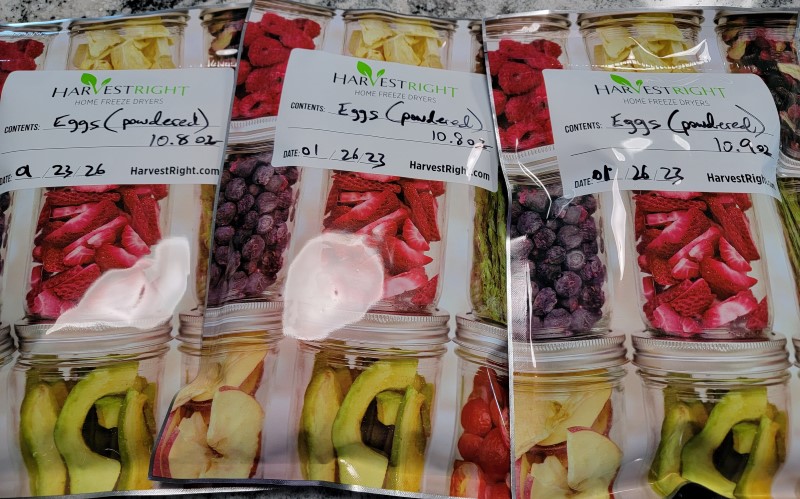
What I don’t entirely understand is how I ended up with two pounds of freeze-dried eggs this time whereas last time I only had 1.35 pounds, yet I used six-dozen eggs both times. About the only explanation I have is that there were duck eggs this time, which are considerably larger than chicken eggs.
Regardless, I’m happy with the results. Even better is that I freeze-dried the equivalent of a #10 can of powdered eggs, which currently sells for $95 on Amazon. Yikes!
One last thing. I’ve complained recently about sealing the Mylar bags. Specifically, sometimes the seals don’t look great, and thus, might not be sealing properly. I think I figured out the problem, and it was me all along!
You see, I like to make two seals just in case one fails. That’s prepping 101. Anyway, it turns out that I always sealed the upper-most seal first, and then went back to do the lower seal (the one below the tear tab). This time, I decided to do the lower seal first, and then come back to do the upper:
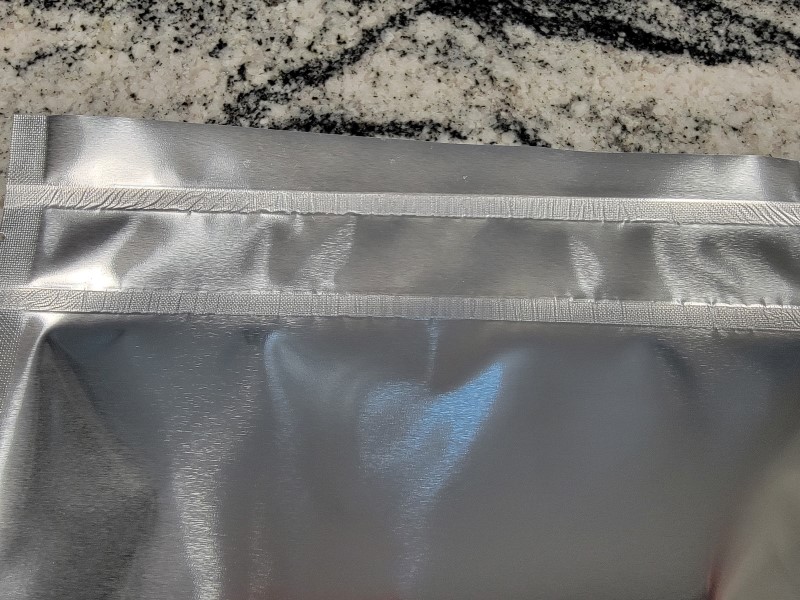
Each of the three Mylar bag seals looked good, top and bottom both. Why does this matter? I think it’s because I ended up trapping air inside the bag which doesn’t allow for the Mylar sheets to lay entirely flat and, thus, fail to properly seal. The top seals were always fine because the Mylar sheets laid flat, but the bottom seals often looked bad. Here’s an example:
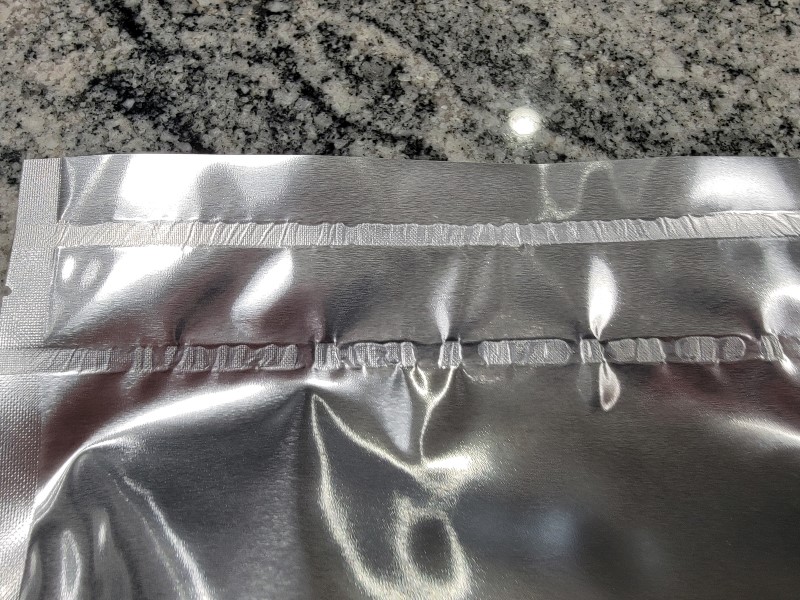
Do you see the difference? Although it’s only a sample size of three bags, I’d like to think I’m onto something. I’m also ensuring that I hold the impulse sealer in place for several seconds after the light goes off to continue to give the Mylar time to melt, as well as waiting at least 30 seconds between sealings, like the manual states. I think that with these changes, it should go better in the future. We’ll see.
Leave a Reply