With the success of my freeze-dried meatloaf, and seeing as though few fruits and vegetables are in season right now, I decided to freeze-dry some more leftovers. My wife suggested I try tilapia and the cooked vegetables (broccoli, cauliflower, and carrots) which accompanied the fish. I started with six leftover fillets that were baked in Italian dressing:

All the fish fit on one of five trays. FYI, I chose to break up the fish to help ensure all the water is removed, though I doubt I needed to:
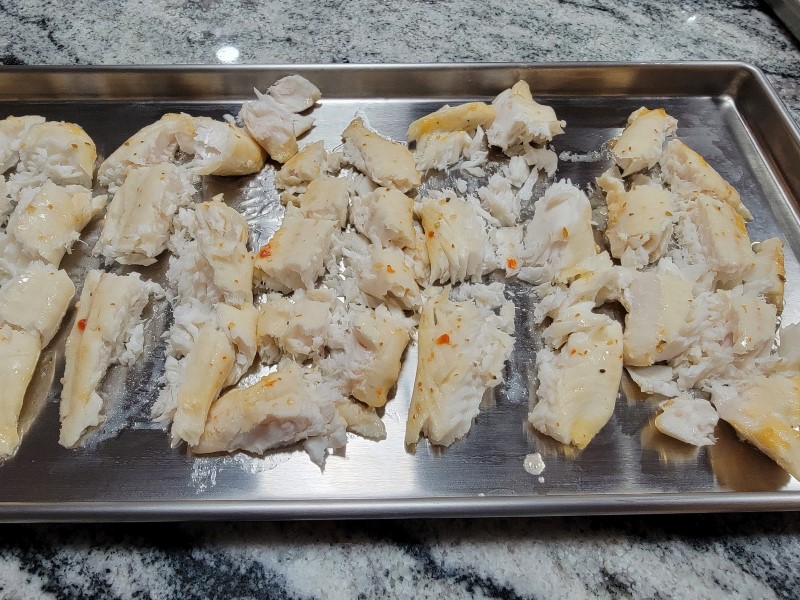
After about fifteen hours, the freeze dryer said the fish was done, and I agreed because it flaked like freeze-dried food does, though I tested several pieces just to be sure:

I broke the freeze-dried fish down a bit more and then packed it all into one Mylar bag (about 5.7 ounces total), though I didn’t include a photo of the packaging process. I was going to also package the cooked vegetables, but they wouldn’t have even filled a Mylar bag full, so I chose not to.
Ultimately, I only used two of five trays for this meal, which irks me more than a little bit because it just doesn’t seem like I’m making full use of my Harvest Right when I run it. Even so, I figured it’s better to use the freeze-dryer for something rather than allowing it to sit idle. Also, I did not try to rehydrate the fish yet, though I did save some out for that purpose. Total electricity cost: approximately $2.06.
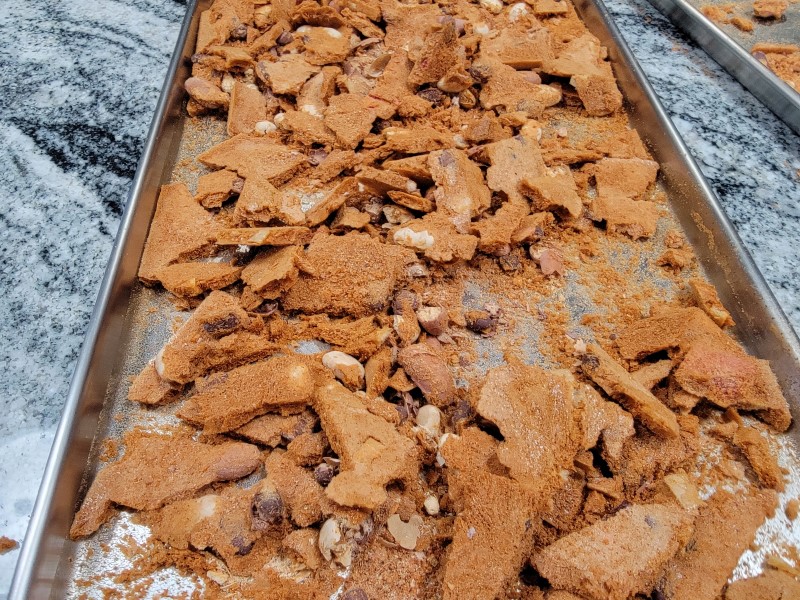
Anyway, two days later and I tried vegetarian chili this time. I layered the chili fairly thin onto three trays:
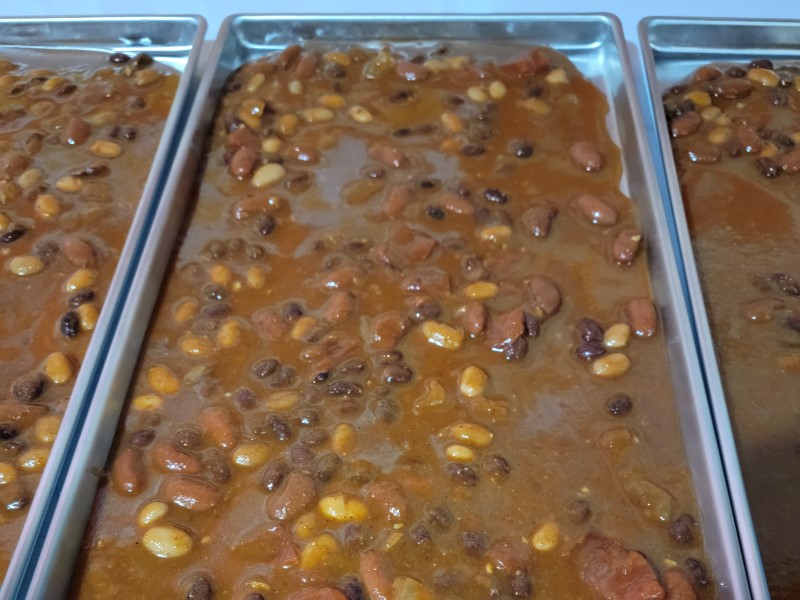
After about nineteen hours, it was done. Here’s a photo that shows how thin the layer of chili is, as well as what it looked like before breaking the chili up for packaging:
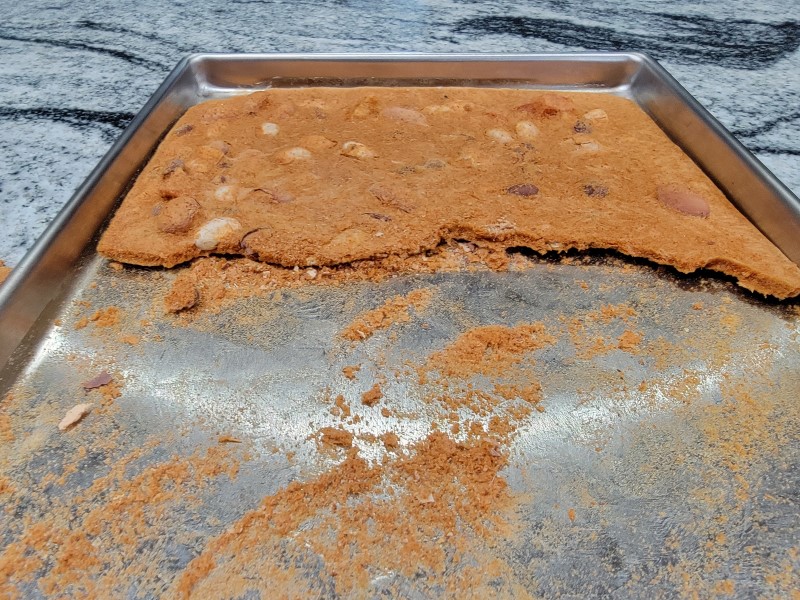
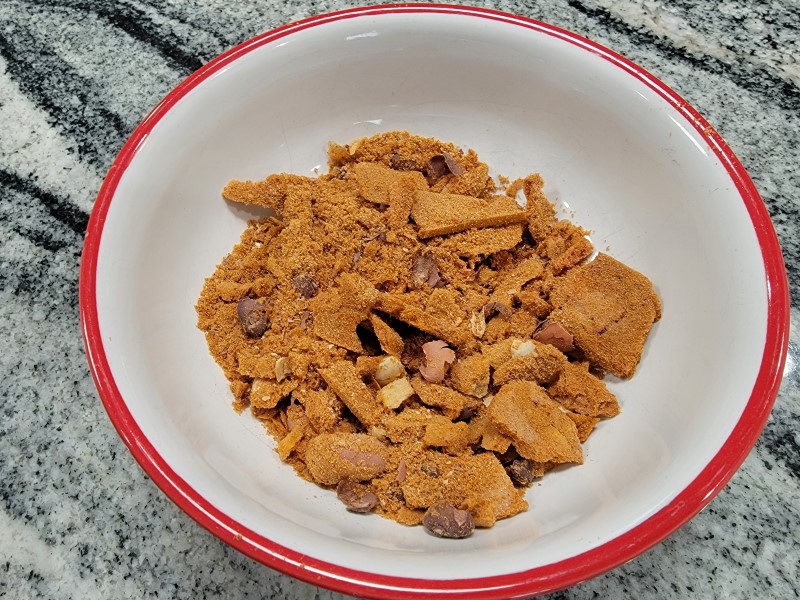
I’d imagine that if I’d tried to fill the entire height of the trays that it would’ve taken longer to freeze-dry due to more water needing removed, but I’m not complaining about a mere nineteen hours. Anyway, I broke up the chili so that I could put it into bags like this:
I know it doesn’t look very appetizing right now, and I thought about pulverizing it further somehow, but then I realized that I wouldn’t even have any beans remaining, so I decided against any additional steps beyond bagging:

I ended up with 11 ounces of final product, which could easily be a large meal for our family of six, maybe even a decent amount for two meals. Total electricity cost: approximately $2.61. As you might expect, I saved some chili out:
I added about a half cup of hot water (that’s a guess now), let sit for a few minutes, then microwaved for thirty seconds before pouring into a new bowl for this photo:
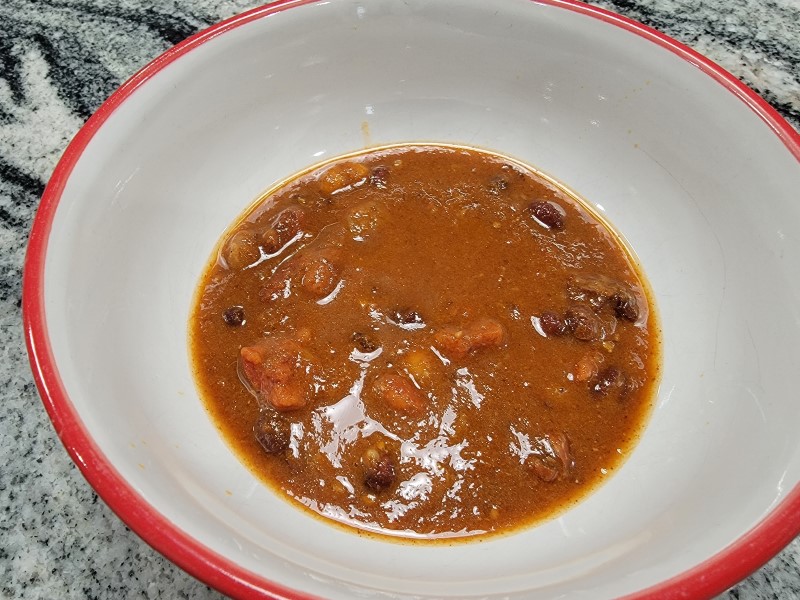
If I didn’t know any better, I probably wouldn’t have guessed that the chili was freeze-dried, though I might have said that the juice was the slightest bit gritty and maybe that the beans weren’t fully rehydrated, but that’s me looking for something different. Of course, freeze-drying a bunch of beans and tomatoes that comes out of cans seems like a silly choice, but I figure this is a continued learning process, so why not.
Last, I keep tinkering with my impulse sealer, trying to figure out how to ensure the bags seal properly each time. I think I’m closing in on it:
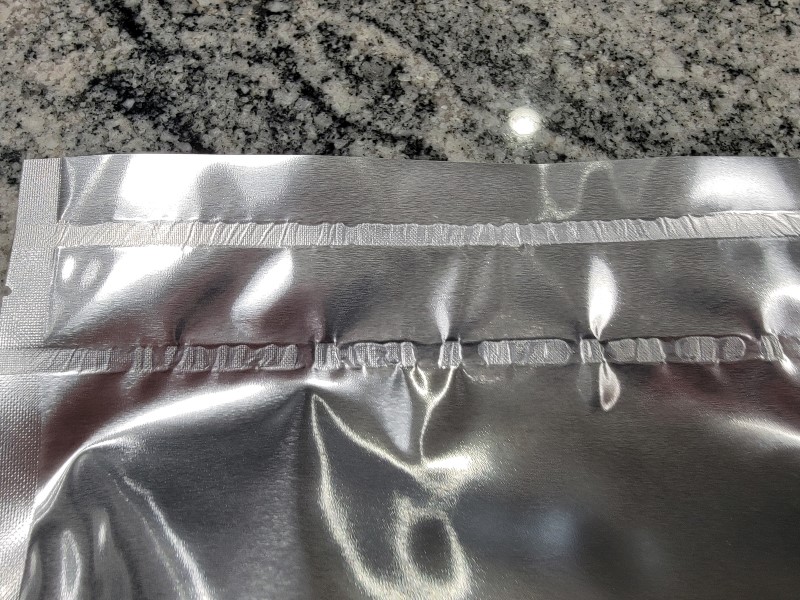
Looking at the photo above, the top seal looks good. It’s also the first seal I do on each bag. The bottom seal is a later addition for added protection, and it doesn’t look nearly as good. I think my problem is that small air gaps are not allowing the Mylar sheets to fully contact each other when sealing. What I do is to seal the top of the bag first, then below the tear line. My guess is that, even though I’m flattening the bag as best as I can the second time, it’s not quite enough because there’s trapped air from the first sealing I did that prevents the Mylar sheets from completely contacting each other. In the future, I’ll try to remember to seal the bottom first (below the tear line) and then do the top afterward. If both seals look good, then that’s likely my problem. If not, then I’ll be back to guessing. 🙂 Of course, I’ll also need to remember to allow the impulse sealer time to cooldown between uses, something I’m not fond of doing.
Leave a Reply