Last year, before I purchased my Harvest Right, I envisioned myself running it nonstop. I thought I would stockpile loads of healthy, delicious foods, such as fruits, vegetables, and maybe some meat. What I didn’t expect was that I would transition to freeze-drying meals so quickly, if at all. It just never crossed my mind that I could or should freeze-dry leftovers. But I’m quickly changing my tune in that regard because it’s easy and doing so makes meal-prep in a SHTF scenario that much easier. Just boil water and serve, more or less.
I am wondering, however, whether freeze-drying just any leftover meals is worthwhile. As with the chili I freeze-dried a while back, I was hesitant to freeze-dry the pasta dish because, well, pasta stores for years on its own, and, if I’m being honest, this felt like a waste of time for my precious freeze dryer. Not only that, but the Harvest Right does cost money to use, and the Mylar bags and oxygen absorbers aren’t free, either.
Regardless, I still wanted to freeze-dry something, and since my wife was kind enough to double this pasta recipe we like, I begrudgingly agreed:
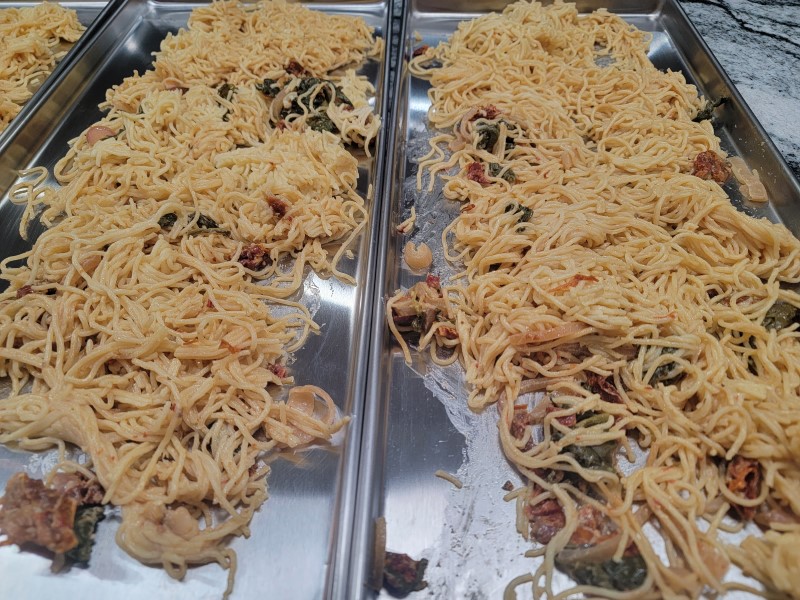
This meal is basically angel hair pasta, sun dried tomatoes (we bought a huge jar from Costco a while back that weren’t trying to use up), spinach, and some dairy of some sort (half and half, I think). It’s pretty good, actually.
After roughly 22 hours, it was done:
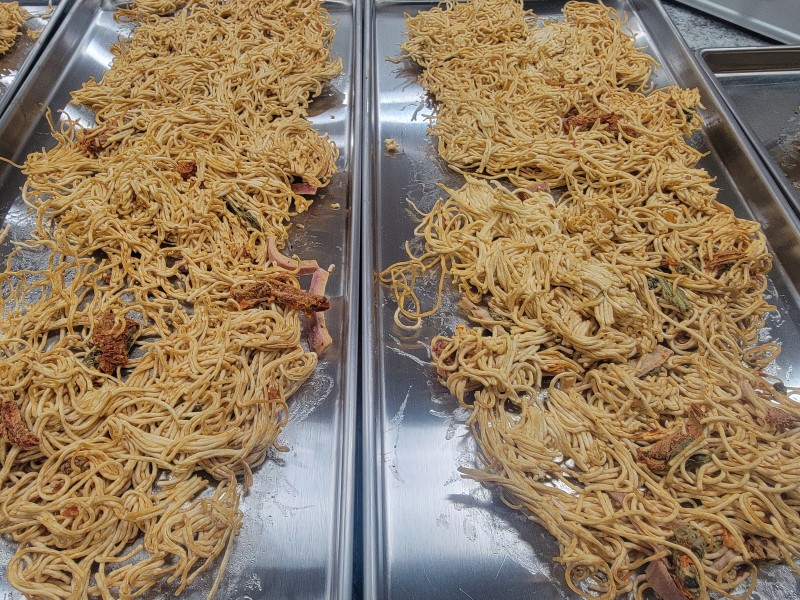
Here’s a closer look:
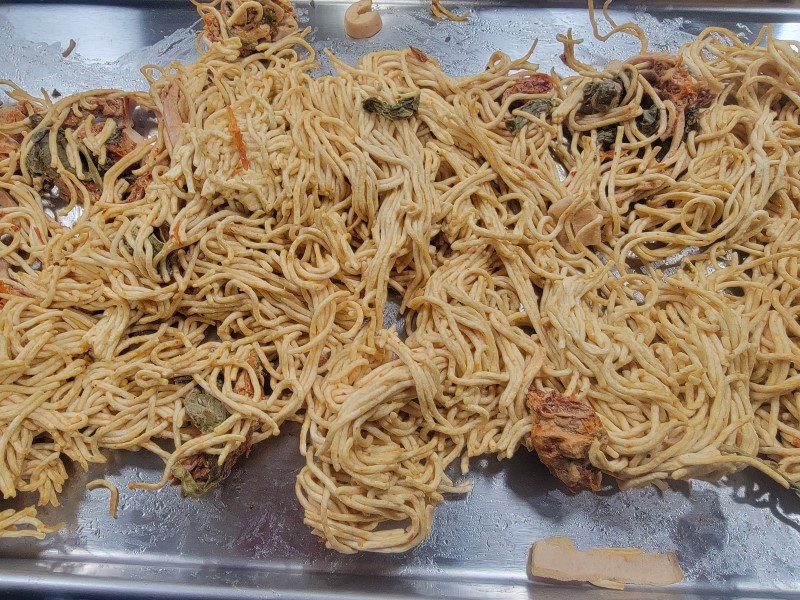
I know it doesn’t look appetizing, but it was good! As for storage, I needed five Mylar bags–one for each tray. But I had to break down the noodles a bit so that they didn’t take up too much space in each bag or else I probably would’ve need double that many bags. Sadly, I had to use my hands to do this. Normally, I utensils and a funnel to help ensure I don’t contaminate the food, so I’m hoping for the best. 🙂 Now that I think about it, I probably should’ve used gloves. Another lesson learned.
Ultimately, I ended up with about 25 ounces:
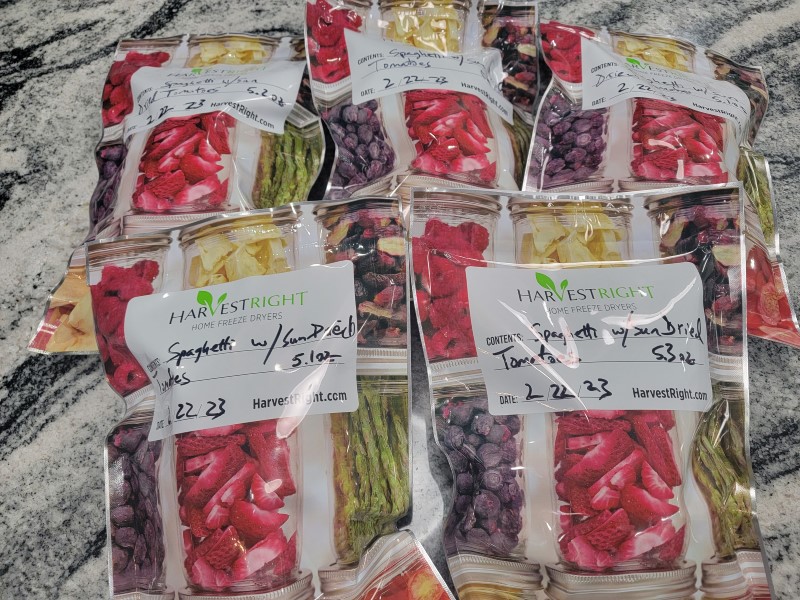
That might not sound like much, but I’d say that a single bag could feed two or three people a solid meal. I was curious if they sold freeze-dried pasta, but about the closest I could find was a #10 can (42 ounces) of chicken fettuccine alfredo. At just under $32, that’s not a bad price. Comparatively, I spent roughly $10 combined on electricity, Mylar bags, and oxygen absorbers, and that’s not including the cost of the ingredients, however much that was.
As with most everything I freeze-dry, I saved some out to test:
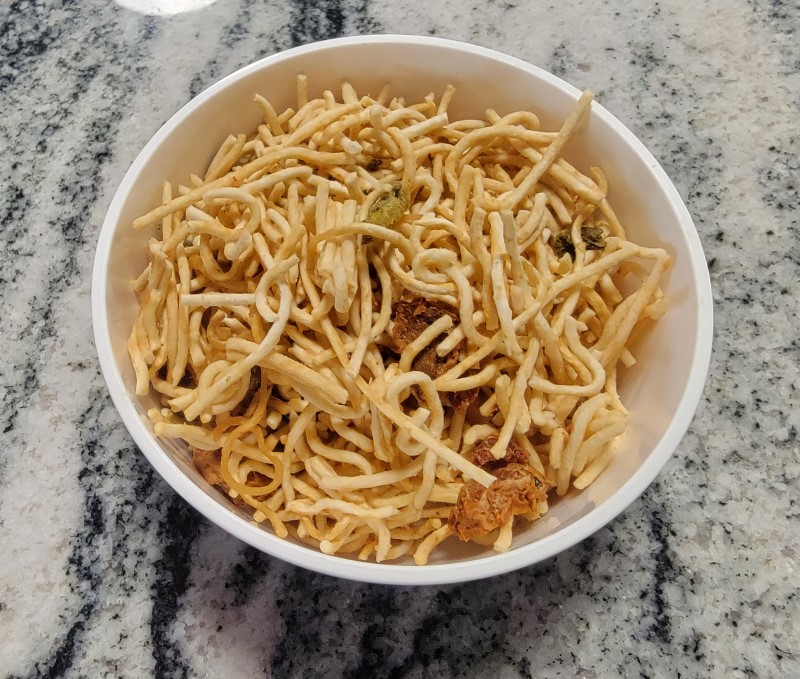
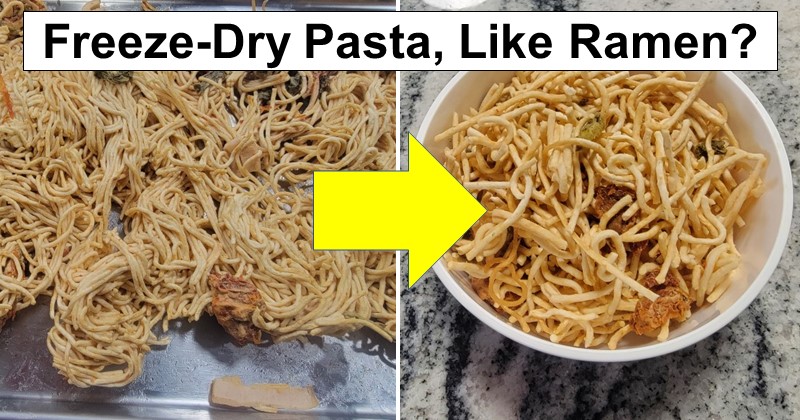
I know it’s difficult to tell from the photo, but this is a small Tupperware container, easily enough for lunch. I heated some water and submerged the food for about five minutes:
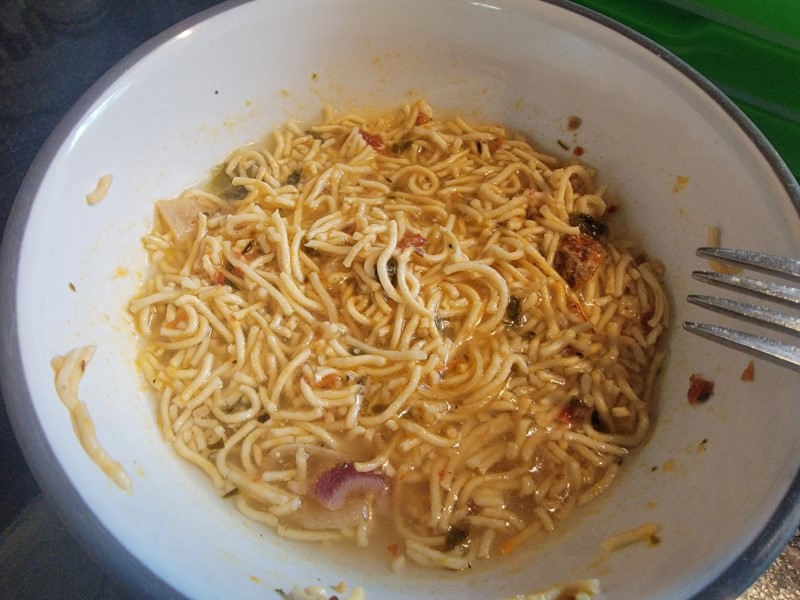
Although it looked ready, after the first bite I noticed the noodles weren’t quite soft enough. And because it was getting lukewarm as it is, I popped the bowl in the microwave for 30 seconds, which helped a lot. I tried a few more bites and found that I liked it soupy–sort of like Ramen noodles–but I drained the water anyway and tried it that way, too:
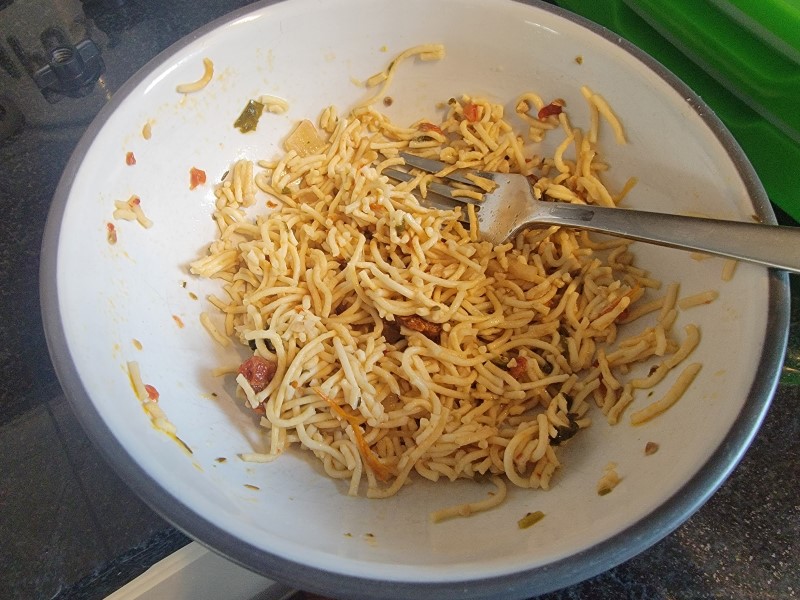
Not too bad, but I really seem to prefer the soupiness… just don’t tell my wife.
As for whether this was worthwhile, I’m still on the fence about that. Sure, I was able to put up a few ready-to-eat meals, but at what cost? At least, at what cost relative to other foods that I could’ve freeze-dried? Honestly, freeze-drying foods–even meals–that are 90% shelf-stable, such as this pasta dish or chili, still feels like a waste to me. In any case, I am continuing to learn and putting up food that we may need one day, so I’ll take the small win.
As for continuing my learning process, I’m nearly at a loss as to what I’m doing right or wrong with the impulse sealer and my ongoing battle with properly sealing Mylar bags. Every time I feel like I’ve figured it out, I get a mess like this, and I tried three times to get it right:
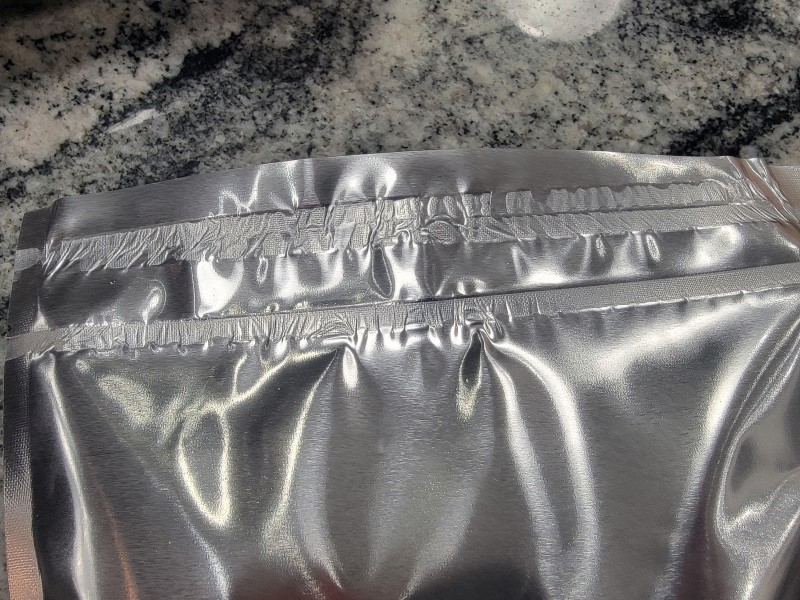
But then, even in the same batch of sealing, I get something that looks good:
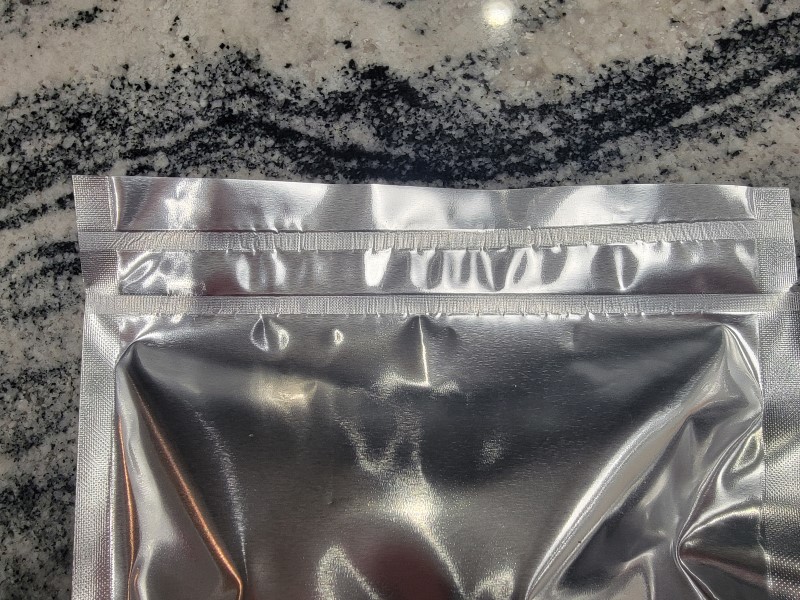
I don’t think it’s the temperature/time setting as sometimes the sealing works great and other times not. And I wait at least 30 seconds between sealings, like the instruction manuals states; yes, I read it front to back. I am concluding that the amount of pressure I use when sealing makes a difference. (I need to push harder.) And I wait several seconds after the impulse sealer finishes before letting go of the handle so that the plastic has time to melt and then cool. So, I really don’t understand what the deal is. I’ll keep trying and hope I figure out something at some point. Ugh.
Leave a Reply