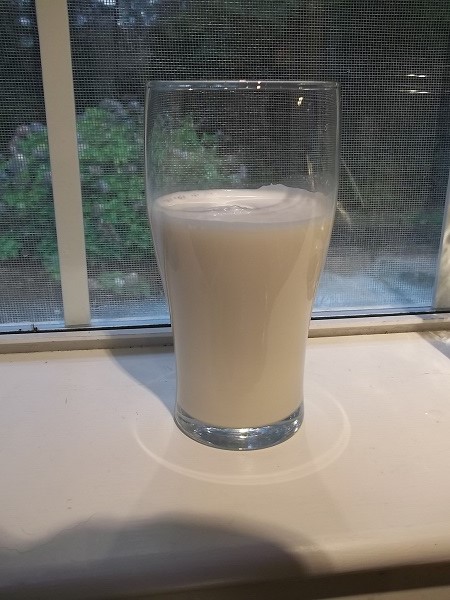
We tend to make a new batch of almond milk almost weekly. If you’ve never made almond milk you may be surprised that it’s a fairly easy thing to do and, according to my wife (and niece) it’s healthier for you too. 🙂
Though we tend to use our homemade almond milk almost exclusively in fruit smoothies as part of our morning breakfast, you could use it in cereal and MAYBE even drink it but I personally don’t like to drink our almond milk… it’s NOT like drinking cows milk.
What about cost?
Well, you can purchase a three-pound bag of almonds for under $25 from Amazon and wind up making about nine to ten quarts of almond milk (more if you water it down).
Even compared to the $3+ we occasionally spend on half-gallon containers of organic milk you’re NOT saving money by making homemade almond milk. We tend to do it for health reasons and because my wife prefers it.
How to make homemade almond milk
Like I said, it’s a really simple process and one that anybody can do so long as you have a quality blender…
Step 1: Soak almonds
I usually take one cup of dry almonds, add at least twice as much water, and let them soak overnight. You can, if you’re in a rush, let them soak for a minimum of four hours but overnight is best. Likewise, it may be possible to have them soak for too long; I’d say 24 hours is the max:
Step 2: Blend soaked almonds
As you can see below the almonds have soaked up water to be about twice their original volume. Though not shown, now you need to blend them in a blender until it almost looks like milk. This is where a quality blender comes into play. To make the milk, I usually blend about one cup (or half) of the soaked almonds to roughly three cups of water. You can adjust the water ratio to make the milk more or less watery but we find three cups water to one cup soaked almonds works out well. In this example I will have blended almonds with water twice. You could, I supposed, try to blend it all at once if you like:
Step 3: Strain through cheesecloth
After being blended, strain through cheesecloth to separate the milk from the pulp. You may not think there’s much pulp from the picture below but there is! With clean hands, and after the almond milk has been completely poured from the blender, slowly squeeze the milk through the cheesecloth until it’s hard to get any more milk from the pulp:
That’s all there is to it.
What’s leftover…
Like I said, you should have nothing but pulp left. I know you can do something with the pulp but I usually tend to just compost it:
How much it makes…
In this case, I made about one and one-half quarts of almond milk which isn’t bad for starting from one cup of dry almonds. If I had chosen to blend the soaked almonds with more water then I might have been able to stretch it to a full half gallon but that’s a bit too watered down for us:
Notes…
There are a few things to point out:
- Almond milk is NOT going to taste like cow milk. As such, it can be an acquired taste.
- Refrigerate immediately after making.
- You’re going to need to stir it before use as it tends to separate.
- Sadly, almond milk made like this won’t last long. Perhaps five or six days at most. Don’t make more than you think you will use within four or five days to be safe.
- It will turn bad pretty fast, even overnight.
Again, it’s not a cost-effective way to make milk but we do like the fact that our homemade almond milk is free of preservatives and plenty of other things I can’t pronounce. 😉 What about you? Have you ever tried to make your own almond milk or perhaps another nut milk?


Leave a Reply