About this time last year, I got into EMP protection devices for a brief time. Sadly, I didn’t do anything to keep my house, appliances, or vehicles protected from an EMP or solar flare. So, I figured I would take my first real steps to do so, but on a smaller scale. Truth be told, EMP protection isn’t cheap and I can’t yet justify spending thousands to make it happen. Yes, I know the peace of mind and cost in damaged or destroyed equipment would be worth the investment should something happen, but I’m not there yet.
Instead, I choose to protect smaller, sensitive electronics that may prove useful, such as radios and inverters. Baby steps. Right?
That said, I started to watch DIY Faraday cage build videos, including using garbage cans, ammo cans, ash bins, and boxes. I’ve seen people recommend microwaves, aluminum foil, and chicken wire as viable options. People want to sell me Faraday bags, shockingly expensive gaskets, and even entire Faraday tents to cover vehicles and rooms. They may be worthwhile, but the bank says I should DIY this one, lol.
What’s the right answer? I truly don’t know. But I can say that even the guy who I consider the go-to expert suggests a metal garage can is a viable choice:
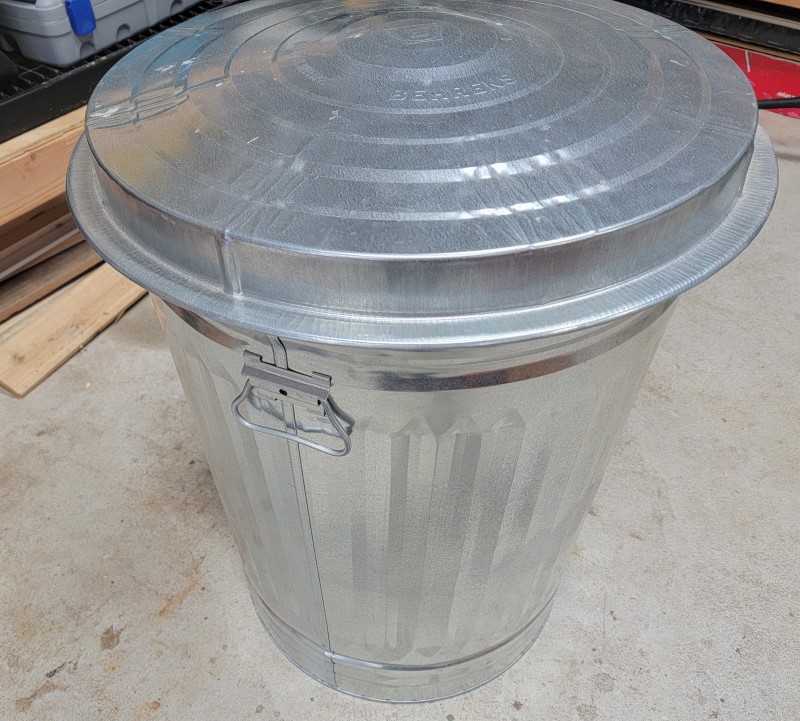
So that’s what I went with. And since I already had an unused 31-gallon galvanized trash can that I wasn’t using, I decided to go for it:
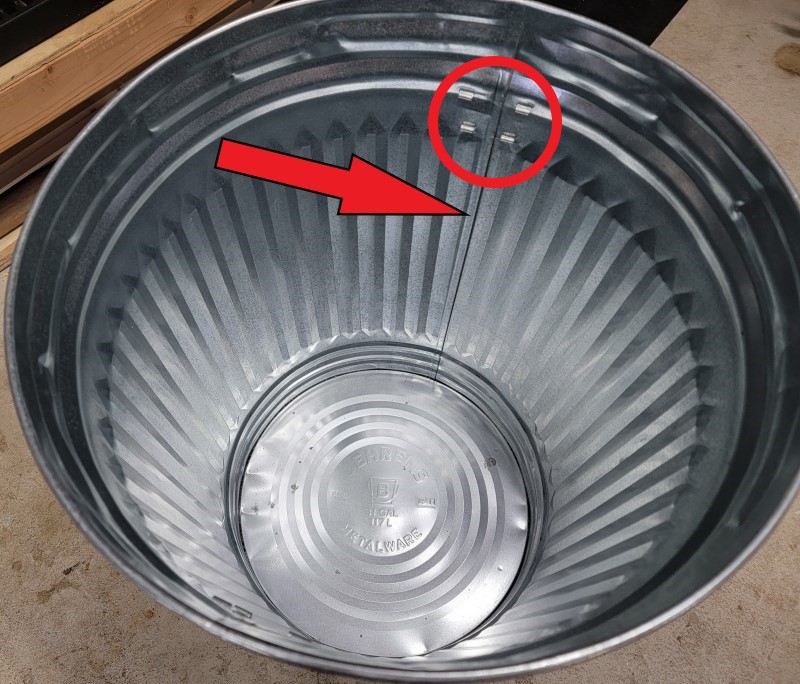
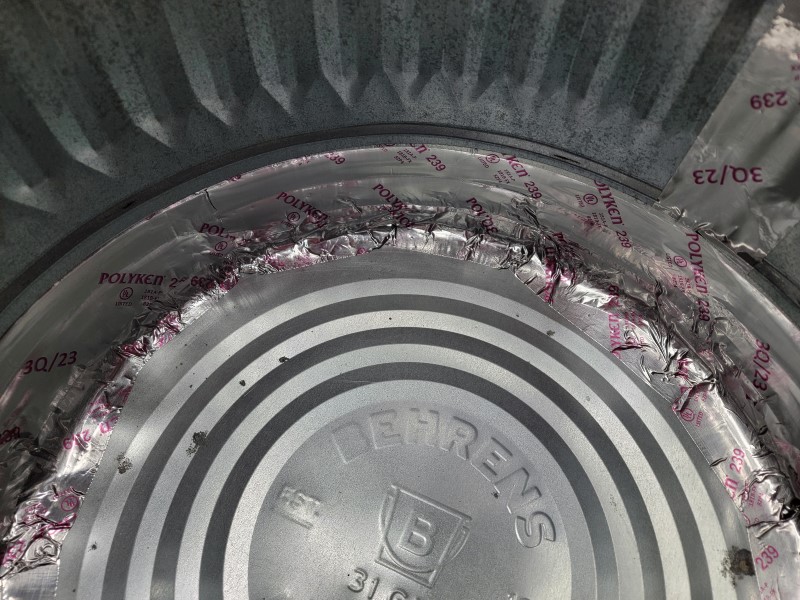
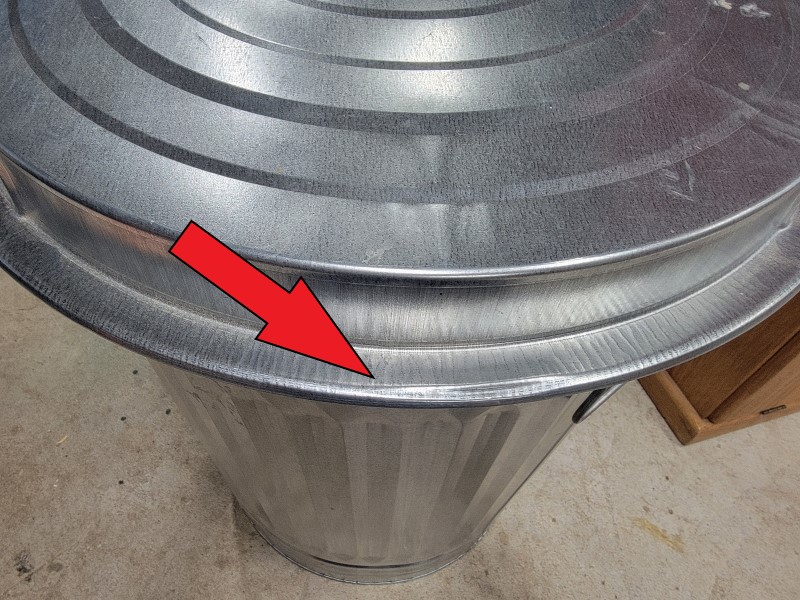
The first step was to seal the garbage can with foil tape. I bought a big roll of heavy-duty tape from the hardware store and got to work. The first order of business was to seal the long seams (arrow) and the protrusions for the handles (circle):
Here’s what that looks like up close:
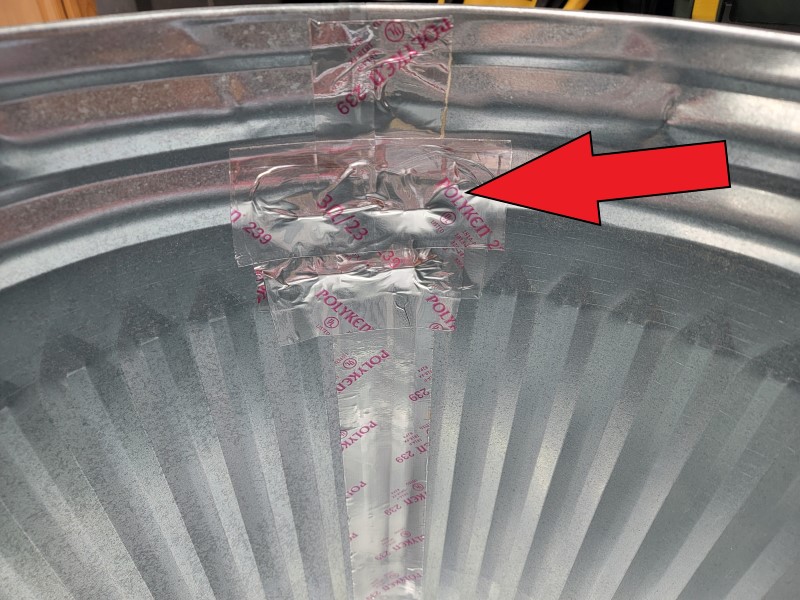
I tried to take my time to get the tape to lay flat because, from what I understand, any amount of opening could leave your equipment vulnerable.
I also chose to tape the bottom, but no video I watched said I needed to do so. And since I had plenty of tape, I figured it couldn’t hurt:
That said, my taping job on the bottom doesn’t look the best and I have no idea whether it will help. Feel free to tell me it was pointless.
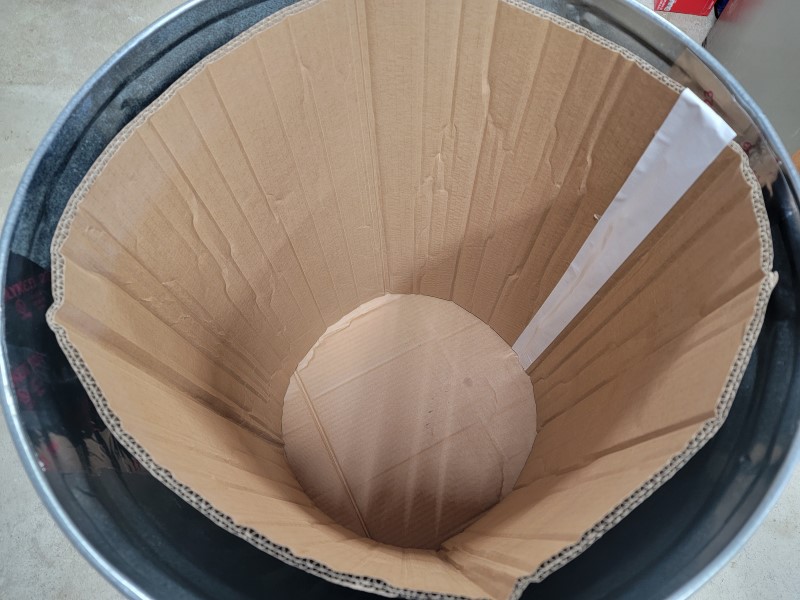
The next step was to add some cardboard to the bottom and sides as a barrier to keep all electronics from touching the metal. I then taped where the cardboard ends met with some white duct tape that I had lying around:
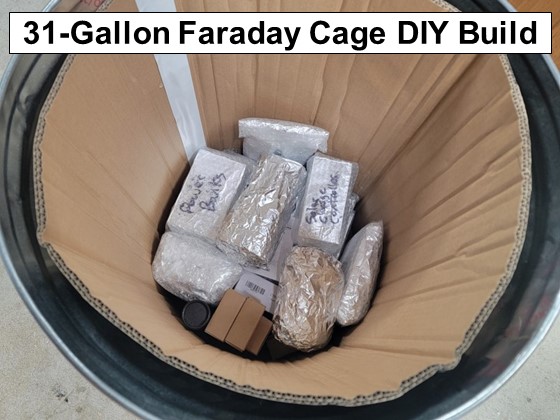
Now that the enclosure was essentially complete, I got started on gathering the items I wanted to include:
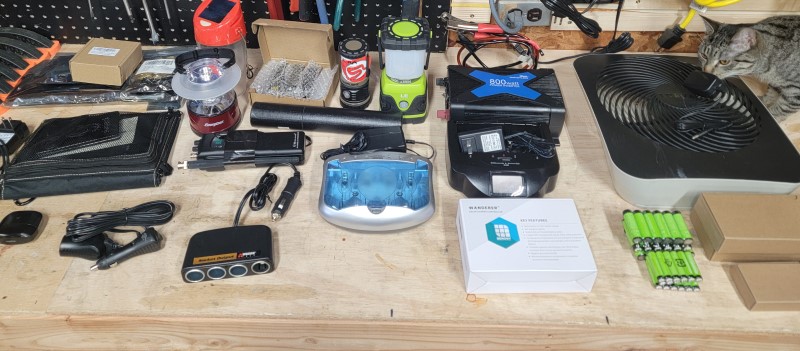
The above photo are an assortment of items I’d kept around for “just in case” purposes. From left to right, it includes buck/boost converters, a 15-watt folding solar panel, various flashlights and lanterns, battery chargers, an 800-watt inverter, a solar charge controller, fan, rechargeable batteries, and AA and AAA alkaline batteries.
Now, I don’t believe the batteries were necessary to protect, but I wanted them included with the devices that will use them. One thing I’d forgot to add for the photo above are D-cell batteries for the green lantern.
I also recently purchased a few more items to add to the Faraday cage, including a larger 40-watt folding solar panel to charge power banks faster, two 26k mAh portable power banks (after watching this video they seemed like a good choice for the price), and another MPPT solar charge controller that I liked because it already included the appropriate solar panel connections for some 100-watt solar panels I have (not shown and not included in the cage):
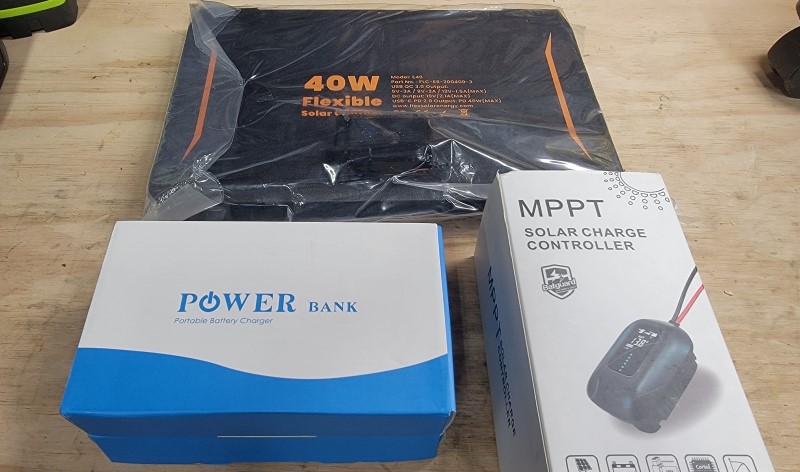
What’s also not shown in the two photos above are additional radios that I have in the house at the moment.
Alright. Now onto the fun part. In another one of the EMP Doctor’s videos, he mentions how aluminum foil is a good barrier for EMP:
And because I’m trying to be cheap about this, I decided to wrap each piece with aluminum foil as a secondary barrier. But, I was also afraid that it would rip, so for I also chose to first wrap most items in bubble wrap:
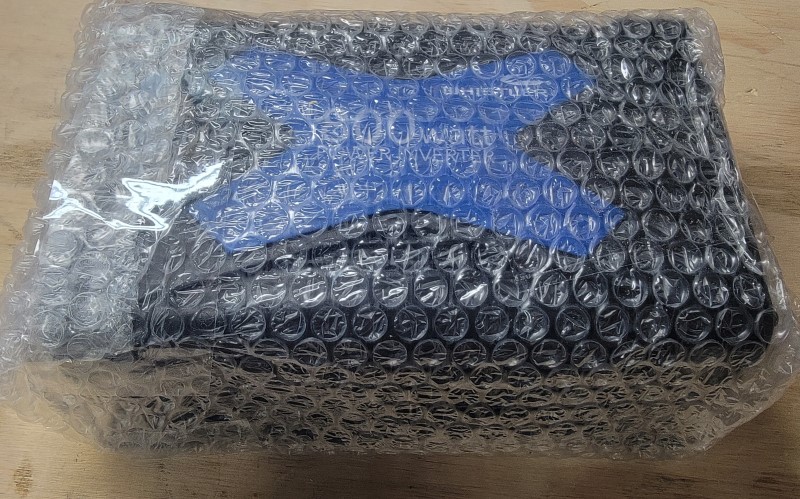
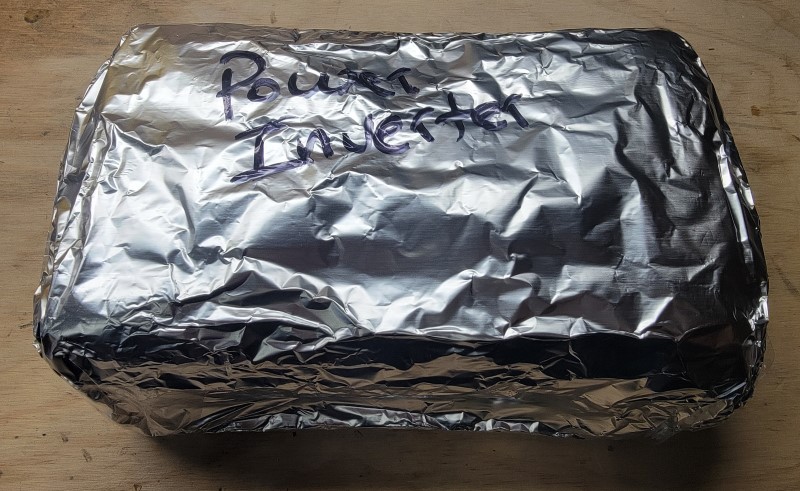
Then I wrapped it in aluminum foil, doing my best to seal all gaps with packing tape; I also tried to write what each item was on the foil:
In most cases, I wrapped each item with bubble wrap to further protect the aluminum foil. Maybe this was overkill.
At some point, after my fingers were numb from working in the unheated garage, I decided I was done:
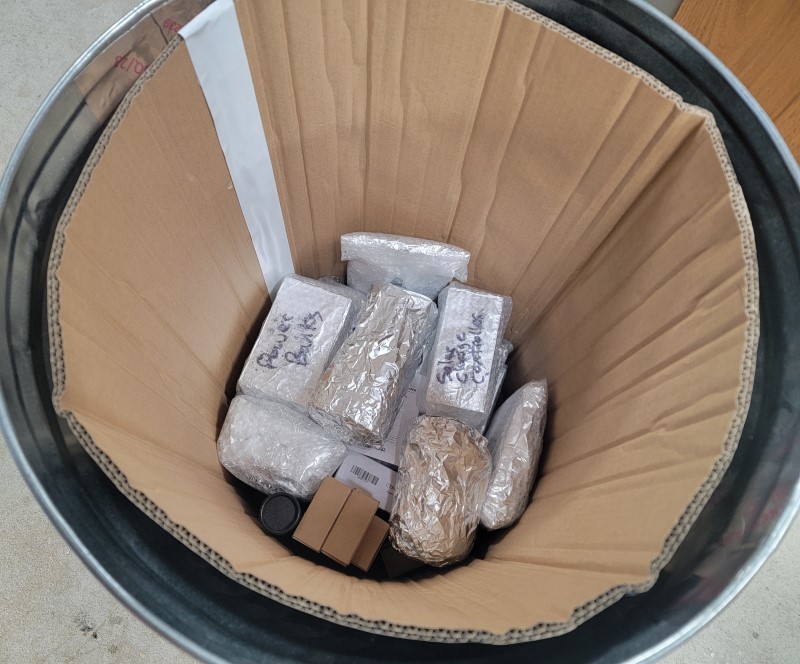
It may be difficult to tell from the photo above, but I barely filled the garbage can half full at most. Yes, I have a few more items to include, but not much. Room for expansion, I guess.
The lid I was going to use has a 90-degree lip that would make it difficult to tape properly:
I chose that specific lid because it didn’t have a handle and I anticipated using a gasket. But I’d since changed my mind and went with a different lid that will make taping the lid to the body easier when I decide I’m truly finished:
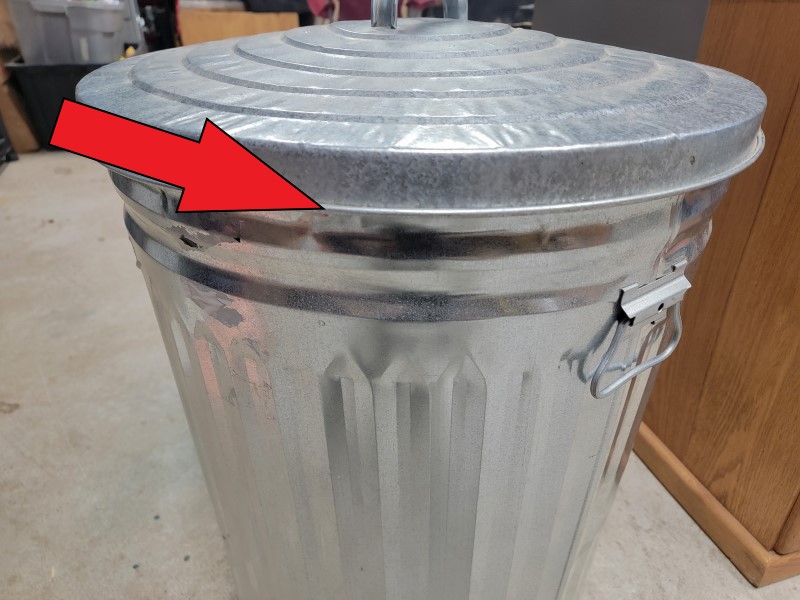
As you might be able to tell from the photo above, the lid I’ve chose has a single handle, which I taped from the inside just like everything else. I assume it will work.
Again, once I’m completely finished, I will tape the lid to the body and be done with it.
Thoughts on anything I missed or did wrong?
Total costs: Foil tape (60 yards) – $23.98 from Walmart, Bubble wrap (200 ft) – $18.48 from Lowes, 31-gallon Behrens trash can – free for me (or $44.84 from Walmart), extra wide aluminum foil (heavy duty) – free for me (or $5.12 from Walmart).
Leave a Reply